Over-engineering my document storage system with Paperless-ngx


I think the first realisation that I was getting old was when I implemented a system to store physical + digital documents and was excited about it.
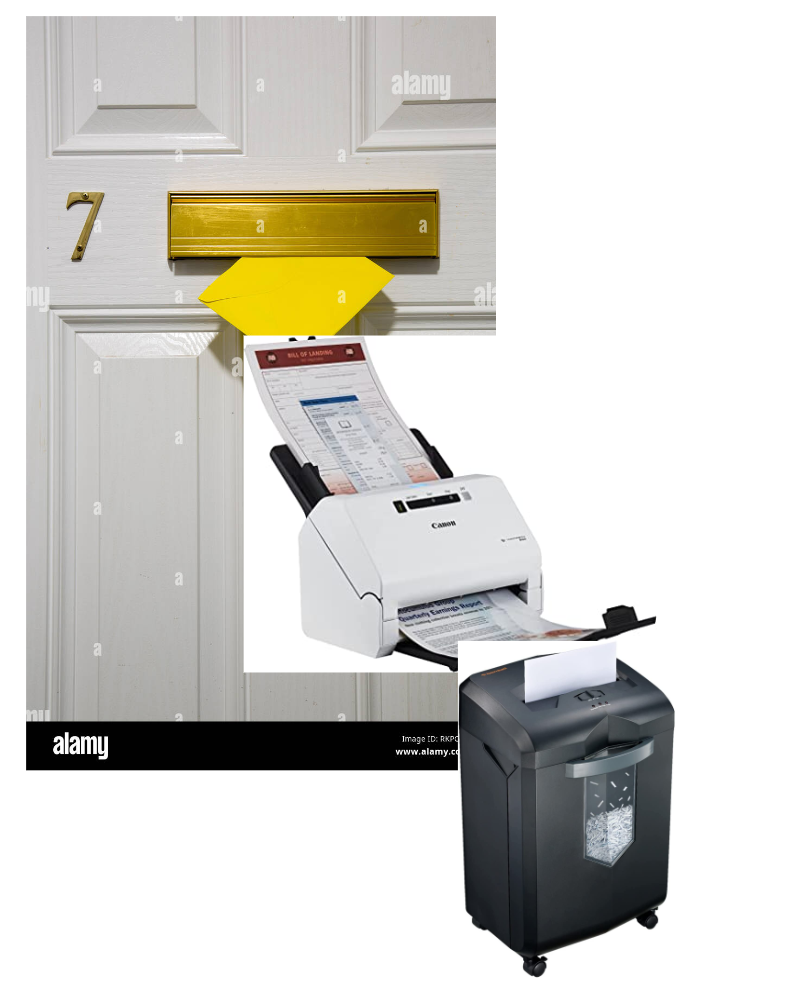
My previous document system looked a little something like this:
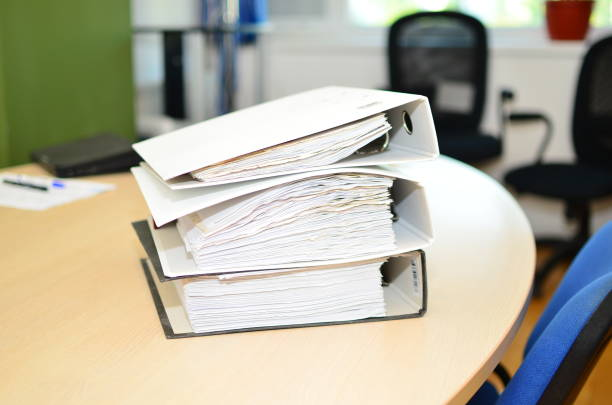
Whenever someone asked me "hey can you prove you got a C in GCSE Mathematics back in 2014?" I would flip through every single page to find the document. Actually, to be honest, most of the time I replied with "nah" and just took the hit. I am simply too lazy to flip through hundreds of documents.
Then I discovered Paperless-NGX (which is a fork of Paperless-NG which is a fork of Paperless).
Paperless-NGX promises to free you of the pain of maintaining physical documents.
Installation
I have a homelab (read: ex-gaming PC I shove random software onto with a lil Kubernetes cluster). As such normally what I do is grab the Docker image and force it to run. My docker compose looks like:
version: "3.4"
services:
  broker:
    image: docker.io/library/redis:7
    restart: unless-stopped
    volumes:
      - redisdata:/data

  webserver:
    image: ghcr.io/paperless-ngx/paperless-ngx:1.12
    container_name: paperless
    hostname: paperless
    restart: unless-stopped
    depends_on:
      - broker
      - gotenberg
      - tika
    ports:
      - 8000:8000
    healthcheck:
      test: ["CMD", "curl", "-fs", "-S", "--max-time", "2", "http://localhost:8000"]
      interval: 30s
      timeout: 10s
      retries: 5
    volumes:
      - /home/autumn/paperless-ngx/export:/usr/src/paperless/export
      - data:/usr/src/paperless/data
      - /mnt/ssd/paperless-ngx/media:/usr/src/paperless/media
      - /mnt/ssd/paperless-ngx/consume:/usr/src/paperless/consume
    env_file: docker-compose.env
    environment:
      PAPERLESS_REDIS: redis://broker:6379
      PAPERLESS_TIKA_ENABLED: 1
      PAPERLESS_TIKA_GOTENBERG_ENDPOINT: http://gotenberg:3000
      PAPERLESS_TIKA_ENDPOINT: http://tika:9998

  gotenberg:
    image: docker.io/gotenberg/gotenberg:7.8
    restart: unless-stopped

    # The gotenberg chromium route is used to convert .eml files. We do not
    # want to allow external content like tracking pixels or even javascript.
    command:
      - "gotenberg"
      - "--chromium-disable-javascript=true"
      - "--chromium-allow-list=file:///tmp/.*"

  tika:
    image: ghcr.io/paperless-ngx/tika:latest
    restart: unless-stopped


volumes:
  data:
  redisdata:
Note: A lot of this stuff (especially the extra containers) will make sense once you've read the rest of this article!
And then I run docker compose up and tada! It works! Docker compose truly is magical.
I could put it into Kubernetes, but I do not need any more things to talk to my therapist about. I also make the distinction between software I care about working [Paperless] and software I am playing around with [Minecraft on K8s].
Ingesting Documents
There's a few ways to ingest documents into Paperless:
- There's a
consumefolder where if you put stuff into it, Paperless will consume it. This is cool as mine is set up as a Samba share. My printer should automatically place scanned documents into it for Paperless to consume. - Email! You can set up an email address to consume new documents. Handy to have automatic rules in your email to send receipts to Paperless.
Or, you can do what I do. I use an app called QuickScan which scans my documents via my phone.
https://www.icloud.com/shortcuts/d234abc0885040129d9d75fa45fe1154
I used to use my printer but HP won't let me complete the captcha to login so I actually cannot use my printer at all (god, I love printers! Please email me (autumn@skerritt.blog) (or tweet me) with suggestions of printers that just work without this IoT bullshit!)
Instead of like.... Having QuickScan set up to automatically push your scanned documents into the consume Samba share (you can do this) I take the lazy route and airdrop it to my mac, where I then just drag and drop it into the UI.
PAPERLESS_OCR_MODE=redo.Tagging
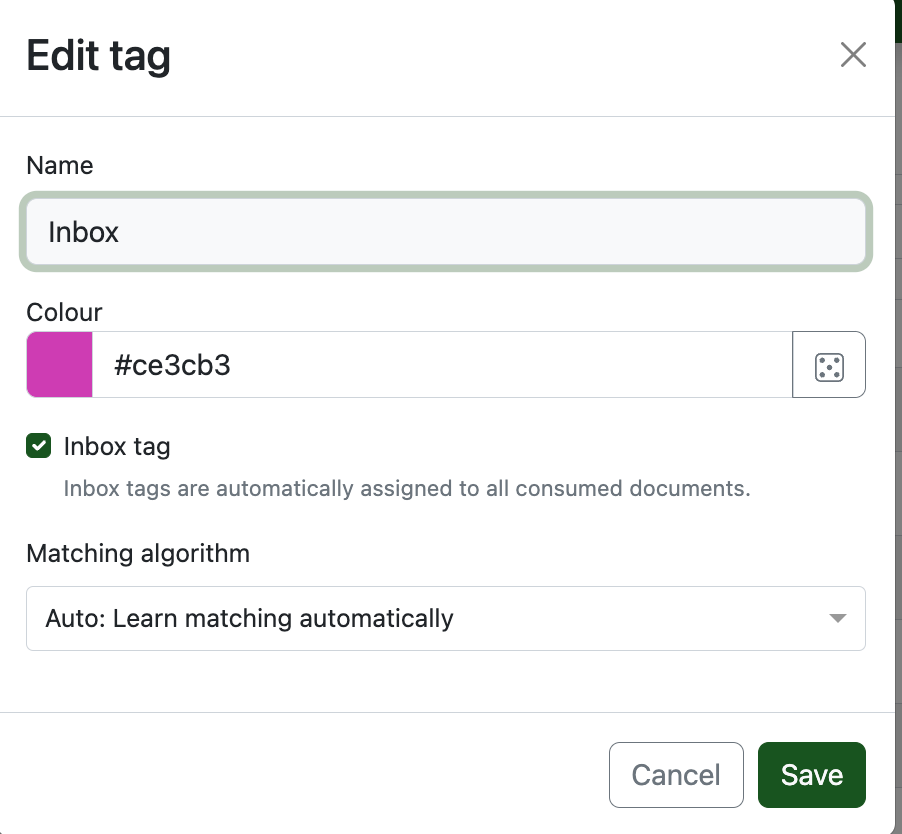
I highly suggest creating an inbox tag. This means that all newly consumed documents are assigned the inbox tag and you can then go through all the new documents and update their names, metadata, tags etc.
It's like those things you see in older movies except digital.

((I also own one of these and I put my documents to be scanned on the middle shelf, and documents that I need to physically store in the bottom shelf. The top shelf is reserved for my Moomin collection))
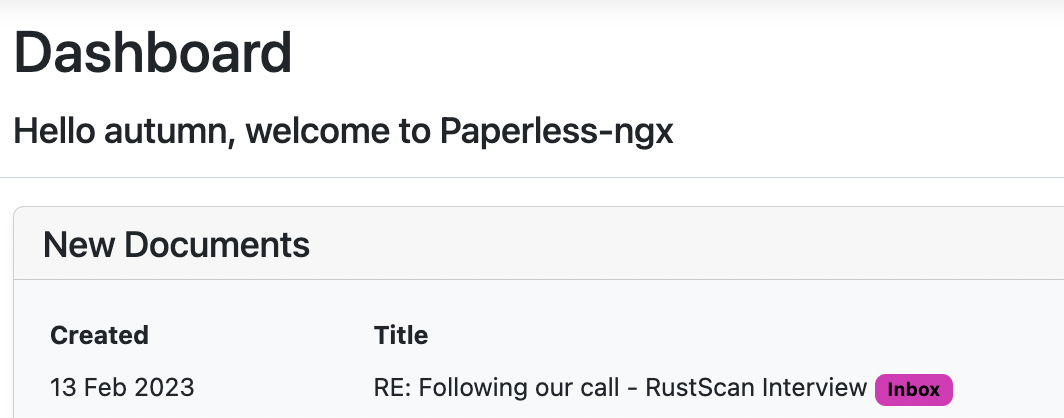
You can then create a Saved View which shows on your homepage of new documents so you have a little list.
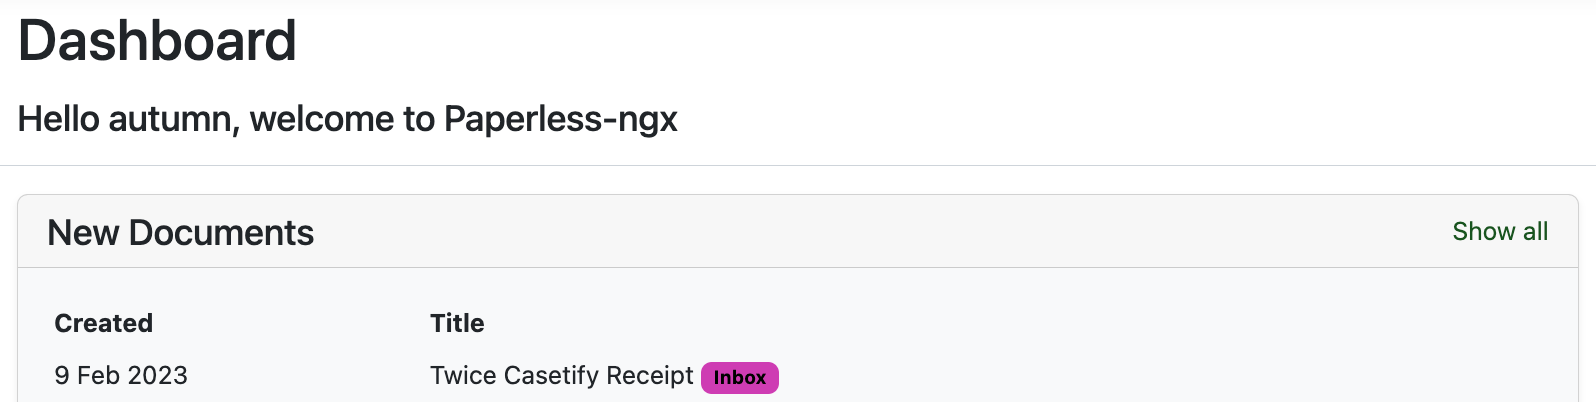
Here's an example from my Paperless, looks like I need to classify my receipt for the Twice x Casetify phone case.
Tagging
Another Pro Tip™️ is you can create AI based tagging systems.
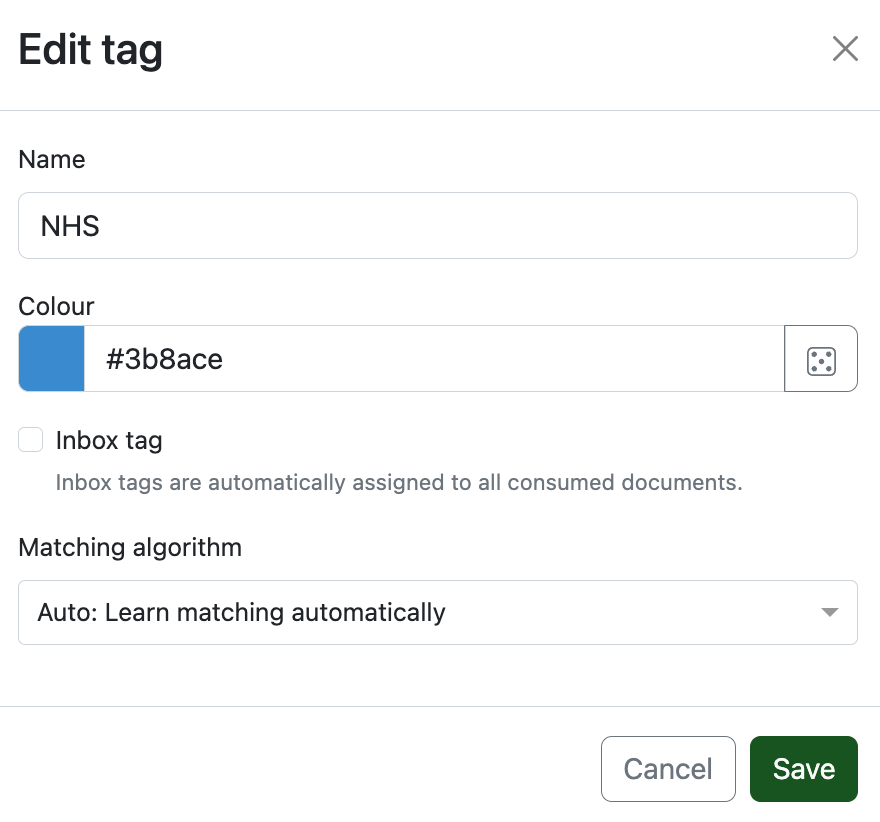
So for instance I have a tag for all of my NHS documents that's automatically applied (note: you need around ~20 examples before it starts auto-applying tags!)
You can also do a "if it contains this word, tag it as this".
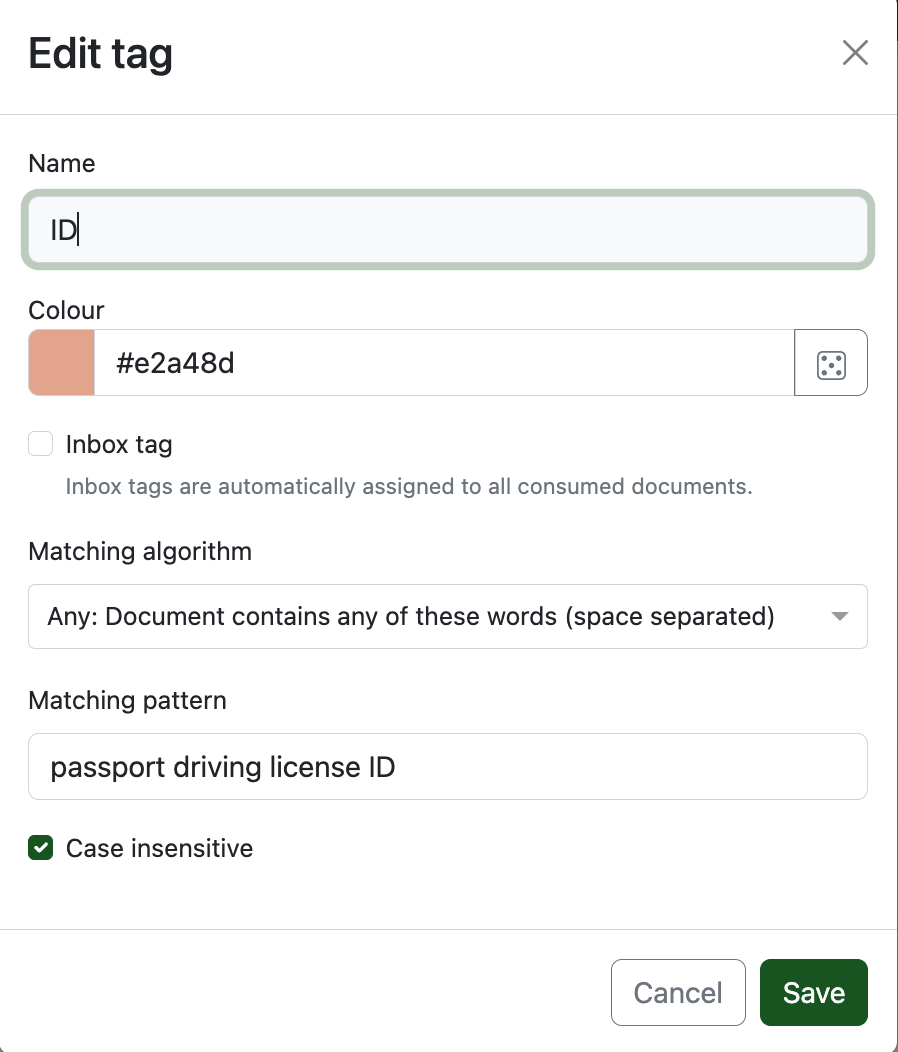
I do this for letters related to any of my main forms of ID.
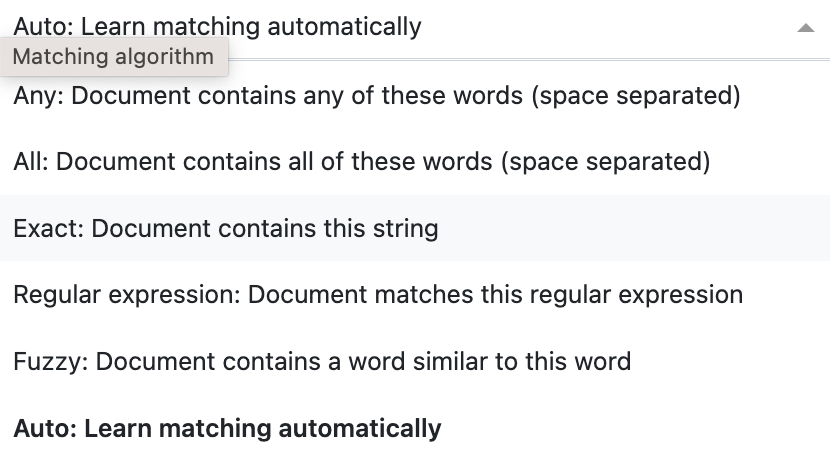
There's a bunch of cool matching algorithms you can use!
Digital Only 😎
Thanks to Paperless I shredded around ~300 physical documents, and I can easily search and find any of my paperwork (including PDFs).
Physical documents
Ok this is all cool, but what if I have documents that have to remain physical like my university degree or more importantly the thousands of receipts for all of my kpop merchandise?
The answer is ✨ Archive Serial Numbers ✨
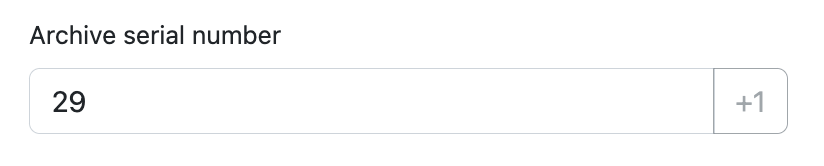
The concept is rather simple. For any documents you want to physically keep, increment the archive serial number (ASN) and label that onto your document. I use a fancy label maker for this.

And then store the documents into a binder in sequential order. Then when the binder is full, label the binder with the ASN's it stores (0 - 40, in my case) and store that somewhere.
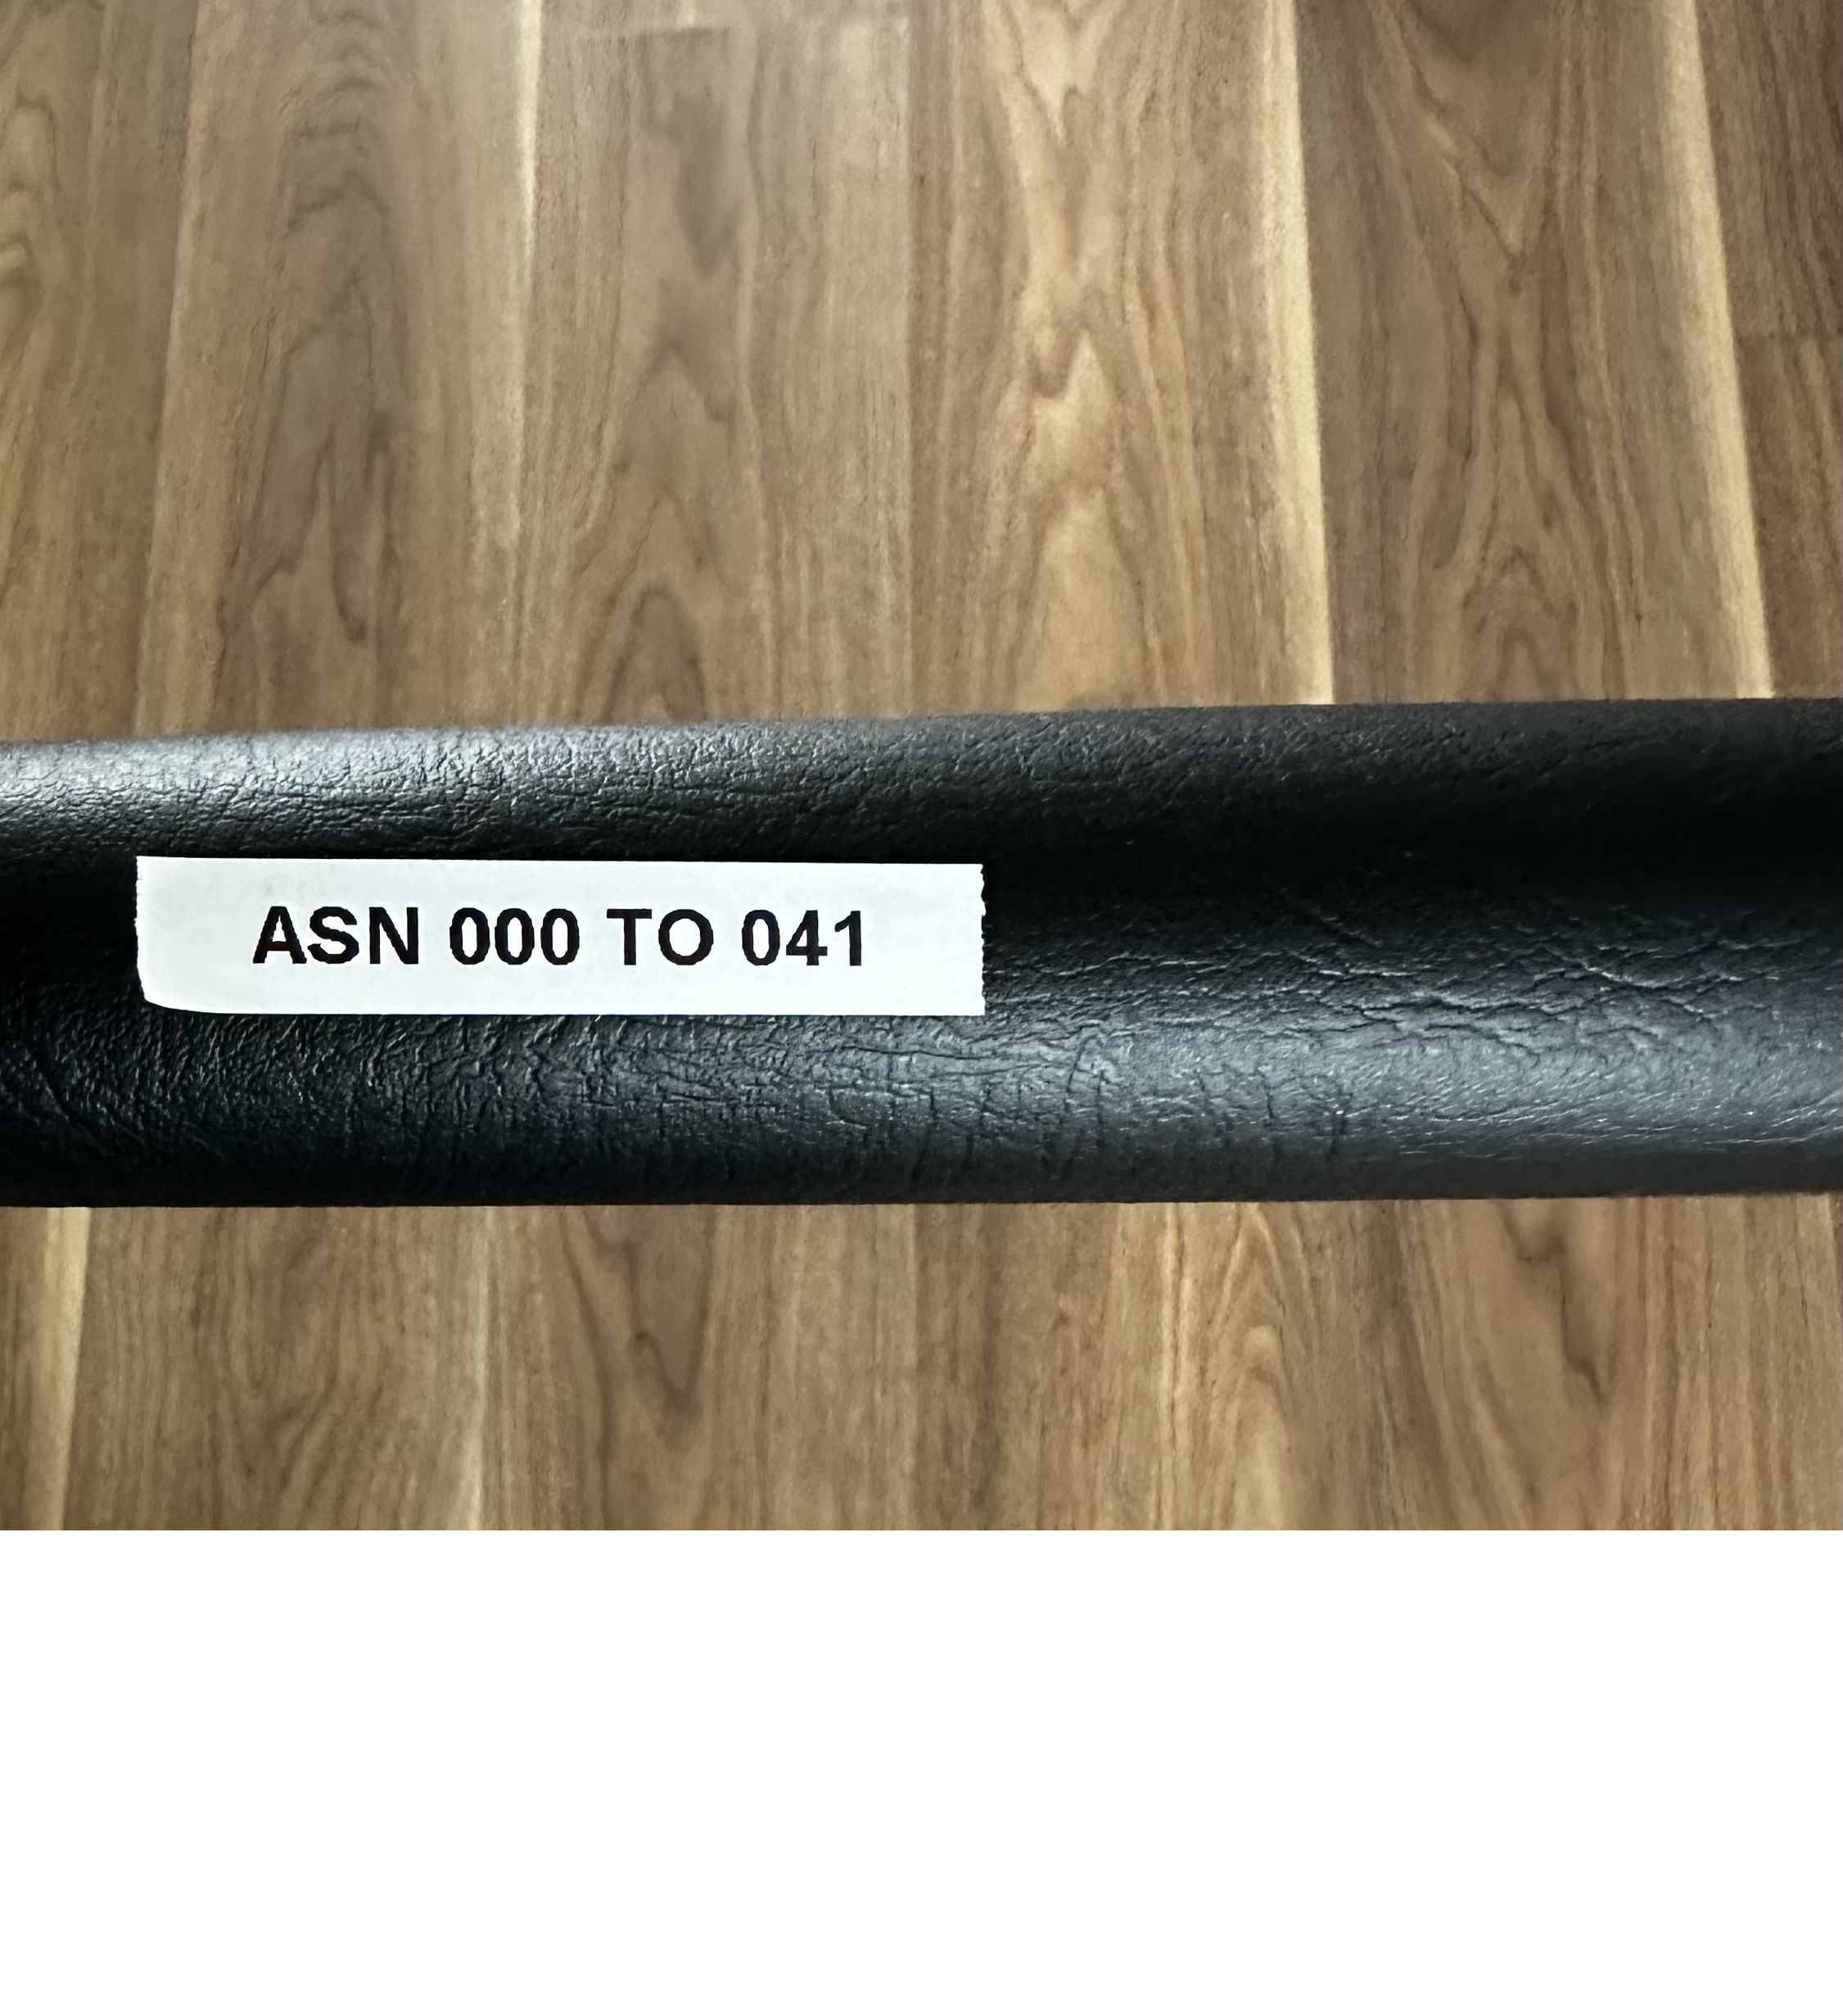
Now when you want to find a physical document, you find its digital counterpart in Paperless, read the ASN number and then find the binder where that ASN is contained. Then simply perform a binary search to find the document!

CONSUMER_ENABLE_BARCODES). So if you buy a barcode maker you can create barcodes like "ASN 064" and Paperless-ngx will automatically detect that and set the documents ASN to match the barcode.Paperless also supports splitting documents on barcodes. If you have one long PDF with many documents in it, but each distinct document has its own PDF Paperless will split the document up according to the barcodes.
But I made a nice folder structure before using Paperless :(
Sooo Paperless bangs all of your files into one folder by default. Which is sad if you've organised your files before Paperless.
I have a Very Beautiful File System™️ I created:
- 2021
	- January
    	06-Payslip.pdf
        09-Receipt-Information.pdf
    - February
    	06-Payslip.pdf
- 2022
	- October
    	06-Payslip.pdf
Moving to Paperless means destroying my system... Or does it?
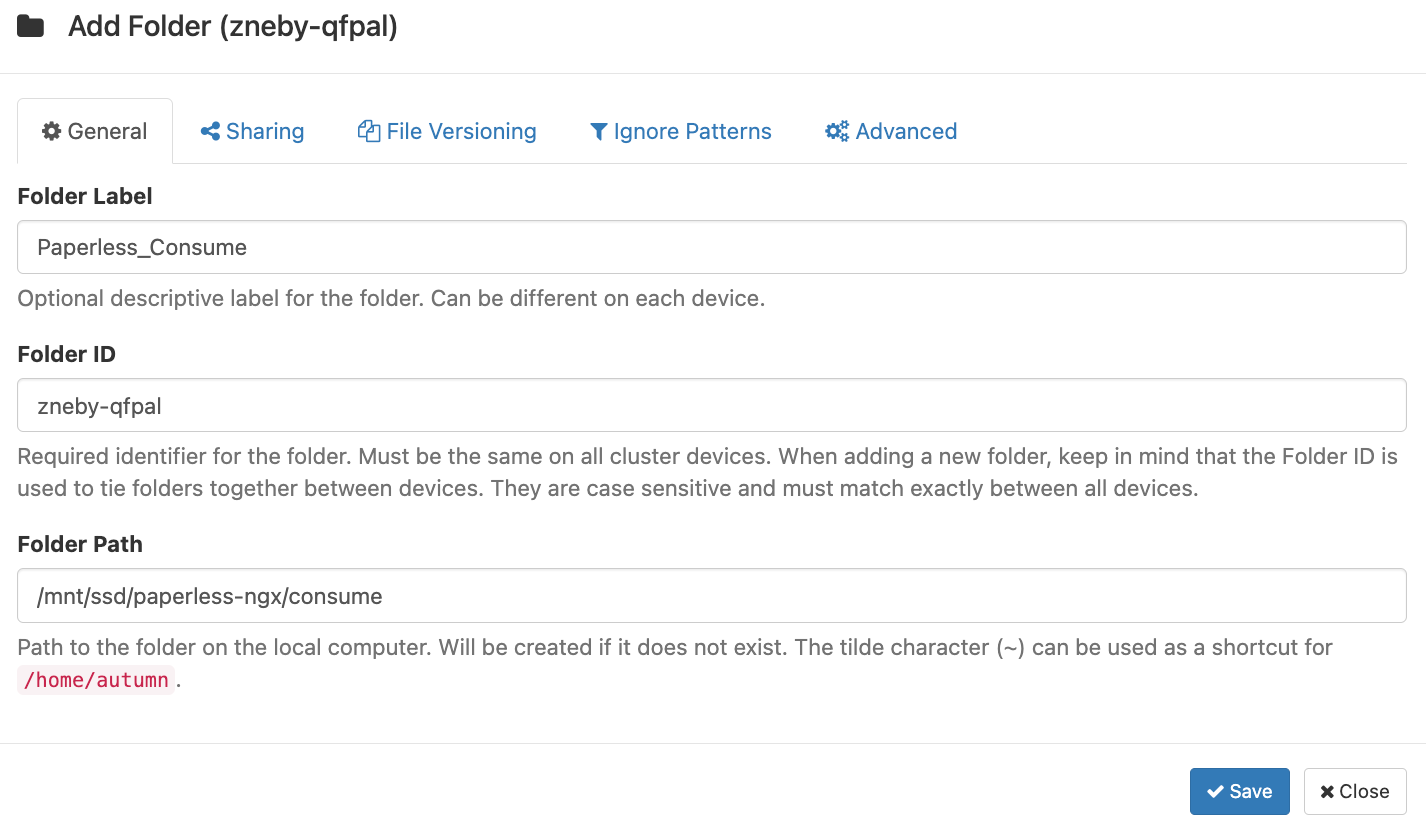
Paperless has this concept of "storage paths". When it processes your file it stores it in a path you choose. Below I've recreated my system:

If you want to you can make multiple storage paths which match on things in the document. Here's one I made specifically for payslips:
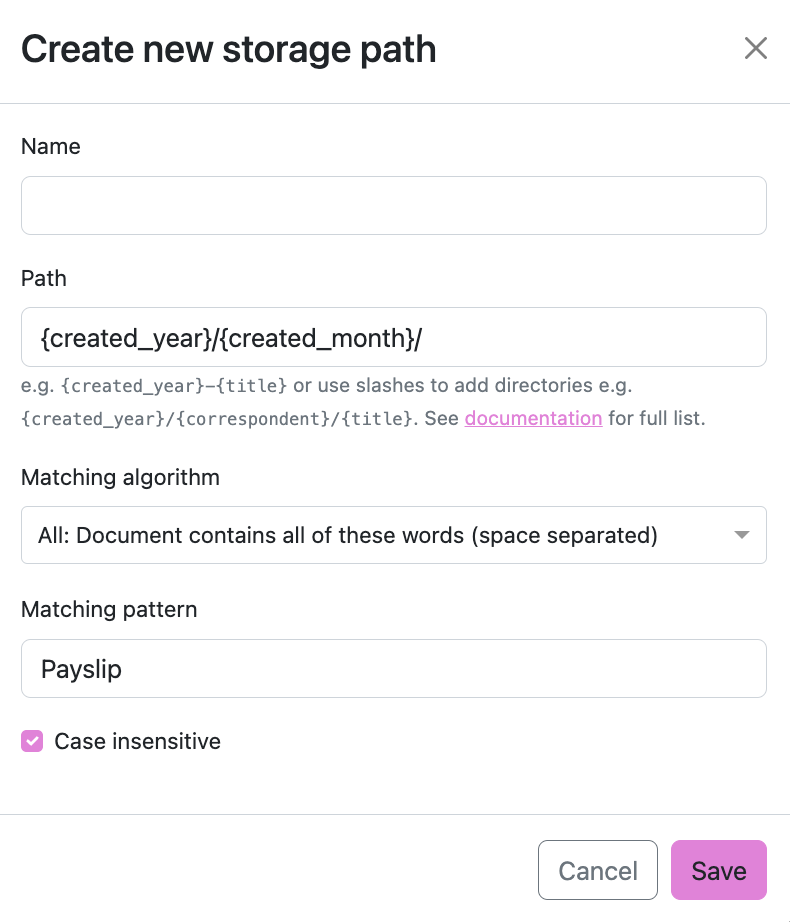
Paperless supports a myriad of variables for your path:
{asn}: The archive serial number of the document, or "none".{correspondent}: The name of the correspondent, or "none".{document_type}: The name of the document type, or "none".{tag_list}: A comma separated list of all tags assigned to the document.{title}: The title of the document.{created}: The full date (ISO format) the document was created.{created_year}: Year created only, formatted as the year with century.{created_year_short}: Year created only, formatted as the year without century, zero padded.{created_month}: Month created only (number 01-12).{created_month_name}: Month created name, as per locale{created_month_name_short}: Month created abbreviated name, as per locale{created_day}: Day created only (number 01-31).{added}: The full date (ISO format) the document was added to paperless.{added_year}: Year added only.{added_year_short}: Year added only, formatted as the year without century, zero padded.{added_month}: Month added only (number 01-12).{added_month_name}: Month added name, as per locale{added_month_name_short}: Month added abbreviated name, as per locale{added_day}: Day added only (number 01-31).
The full list can be seen here.
If you have already imported all of your files you can add them all to a storage path by making a mass edit. And then any changes to the storage path will automatically update them, so you can change your path in the future automatically if you wanted!
Backups
Managing your own documents also means having to manage the backups of documents.
I wrote a script called syncer.sh which backs up my files to an external hard drive and to the ✨ cloud ✨
The first thing we need to do is to perform the backup.
We can do this by running the below command:
docker exec paperless document_exporter /usr/src/paperless/export --zipThis outputs a file called export-2023-02-12.zip (the date changes). For my backups I do not want to store a linear archive of files, instead I just want to backup the current version and add new files if anything has changed.
Because of the filename the archive will always be "different" so I need to change the name of the archive. I've submitted a GitHub Discussion about choosing your own name with the --zip option.
# CDs into our export directory and changes the name
cd /home/autumn/paperless-ngx/export
mv *.zip paperless_export.zip
My cloud of choice is Cloudflare R2 for 3 reasons:
- It's blob based storage with the same API as AWS S3, so I am familar with it.
- It's 😍SHINY😍 and new technology.
- You get 10gb for free!
Cloudflare says they encrypt your files, but I want a little extra protection so I create another zip file with my own encryption.
zip -e paperless_export_encrypted.zip paperless_export.zip -P no_password_for_you!Now we begin the backing up part. Since I trust myself the external hard drive uses the non-encrypted version, and I use rsync to back it up.
rsync -av paperless_export.zip /mnt/external_hdd/paperlessIf there is no changes between the files, nothing will happen. If there is a change, rsync will update the file on the hard drive with the new version.
Next up I sync to Cloudflare R2 using rclone.
rclone sync paperless_export_encrypted.zip r2:paperless-backup -vAnd now I deleted the files I exported. This is because it'll get messy if I don't do this!
rm -rfv /home/autumn/paperless-ngx/export/*My script finally looks like:
docker exec paperless document_exporter /usr/src/paperless/export --zip
# we now have a zip folder export
# CD's into the export folder and rename the file
# this is so we can overwrite it
cd /home/autumn/paperless-ngx/export
mv *.zip paperless_export.zip
# encrypt the zip file
zip -e paperless_export_encrypted.zip paperless_export.zip -P no_password_for_you!
# rsync to external hdd
rsync -av paperless_export.zip /mnt/external_hdd/paperless
# sync to cloudflare r2
rclone sync paperless_export_encrypted.zip r2:paperless-backup -v
rm -rfv /home/autumn/paperless-ngx/export/*
And finally I have a Systemd service to run this regularly.
Here's the service descriptor file:
[Unit]
Description=syncer backup service
After=network.target
StartLimitIntervalSec=0
[Service]
Type=simple
Restart=on-failure
RestartSec=1
User=autumn
ExecStart=/usr/bin/env sh /home/autumn/syncer/sync.sh

[Install]
WantedBy=multi-user.target
And a basic timer file to run this regularly:
[Unit]
Description= Backs up my paperless

[Timer]
OnUnitActiveSec=60s
OnBootSec=60s
Unit= syncer.service

[Install]
WantedBy= basic.target
What if the backups fail?
It's a truth universally acknowledged that backups that are not tested regularly will fail.
What if my script suddenly stops and I lose my data? Then I'll have to restore from old data and lose my documents :(
The Proper Way™️ to do this would be to install systemd_metrics_exporter for Prometheus. That way when the service is failing too often I can get an alert from AlertManager. I have Prometheus, Grafana and AlertManager set up on my server so it wouldn't be too hard.
But, my thought process is "I want to play around and have fun. Why don't I create a script to alert me. That way in the future I can do more advanced alerts. Like making sure my script runs and I can restore from the backups".
For this reason I wrote a lovely little Rust program to alert me when my Systemd service (or timer) fails to run.
Let's run through the code. Firstly, it grabs the status of the service from Systemd.
fn get_systemd_status(service_name: &str) -> bool {
    // systemctl is-active syncer.timer
    let output_timer = Command::new("systemctl")
                     .arg("is-active")
                     .arg(service_name)
                     .output()
                     .expect("failed to execute process");
    if !output_timer.status.success() {
        // Fail state for timer
        println!("Command failed with exit status: {:?}", output_timer.status.code());
        return false
    }
    return true
}
It does this by running the command systemctl is-active syncer.service and seeing if the output is a Success (exit code 0) or not.
syncer.service will show as in-active if it hasn't been run in ~30 seconds (I believe). syncer.timer should always show as active.If it's failing the next thing I'd want to see in the alert is the logs. Why is it failing?
I do this by calling journalctl and parse the logs into a string.
fn grab_journalctl_logs(service_name: &str) -> String {
    let output = Command::new("journalctl")
        .arg("--unit")
        .arg(service_name)
        .arg("--since")
        .arg("1 minute ago")
        .arg("--reverse")
        .arg("--no-pager")
        .output()
        .expect("failed to execute process");

    if output.status.success() {
        let logs = String::from_utf8_lossy(&output.stdout).to_string();
        return logs
    } else {
        return "Failed to get logs".to_string();
    }
}
Since this Rust program runs once every 30 seconds we only need to worry about the last minute of logs.
--no-pager disables this.With knowledge of which service is failing and why, I build a message to post:
let message = format!("Hey @here \n Service {} failing \n {}", service_name, logs);
And then I call the Discord webhook using Serenity.rs
#[tokio::main]
async fn send_discord_message(message: &str) {
    // You don't need a token when you are only dealing with webhooks.
    let http = Http::new("");
    let webhook = Webhook::from_url(&http, "https://discord.com/api/webhooks/WEBHOOK_HERE").await.expect("Replace the webhook with your own");

    webhook
        .execute(&http, false, |w| w.content(message).username("Paperless Checker"))
        .await
        .expect("Could not execute webhook.");
}
Now I can get alerts like this if my backups fail 🥳

👀 I also wrote some code to make sure my backup in Cloudflare R2 is the latest version.
The below code will call the S3 API (not using the Rust SDK because AWS says it's a developer preview and I don't want to update this too often. The CLI is stable) and if the object hasn't been modified within the last 2 days, alert!
// returns false as it hasn't been updated in 2 days
fn check_object_in_r2_is_updated() -> bool {
    let output = Command::new("aws")
        .args(&["s3api", "list-objects-v2"])
        .args(&[
            "--endpoint-url",
            "cloud_storage_url",
        ])
        .args(&["--bucket", "paperless-backup"])
        .output()
        .expect("failed to execute command");

    let output_str = from_utf8(&output.stdout).unwrap();
    let json_obj: Value = serde_json::from_str(output_str).unwrap();

    if let Some(contents) = json_obj.get("Contents") {
        if let Some(object) = contents.get(0) {
            let last_modified_str = object.get("LastModified").unwrap().as_str().unwrap();
            let last_modified = DateTime::parse_from_rfc3339(last_modified_str)
                .unwrap()
                .with_timezone(&Utc);

            let two_days_ago = Utc::now() - Duration::days(2);

            if last_modified <= two_days_ago {
                println!("The object was last modified more than 2 days ago. Returning false.");
                return false;
            } else {
                return true;
            }
        } else {
            println!("Could not get 0th object of R2 API call");
            return false;
        }
    } else {
        println!("Could not get objects of R2 S3 Call");
        return false;
    }
}
Since the Cloudflare upload is the last part of my sync script, if anything before that fails the entire script fails so Cloudflare won't update. You can say it's like a canary 🦜
Now it's just a case of making a service...
[Unit]
Description=Make sure paperless backup works
After=network.target
StartLimitIntervalSec=0
[Service]
Type=simple
Restart=on-failure
RestartSec=1
User=autumn
ExecStart=/usr/bin/env ./home/autumn/paperless_backup/target/release/paperless_backup

[Install]
WantedBy=multi-user.target
And then a timer....
[Unit]
Description= Makes sure the backup script runs

[Timer]
OnUnitActiveSec=30s
OnBootSec=30s
Unit= paperless_backup.service

[Install]
WantedBy= basic.target
Now we just enable them:
£ sudo systemctl enable paperless_backup.service
£ sudo systemctl enable paperless_backup.timer
And it all works fine!

🤔 A lot of my documents come in the form of emails
Then good news! Paperless can read your emails and import any attachments sent to you.
Figure out how to set up IMAP with your email provider. Fastmail users can go here:
https://www.fastmail.help/hc/en-us/articles/1500000278342
And then create a new mail rule. This one adds every attachment to your paperless inbox.
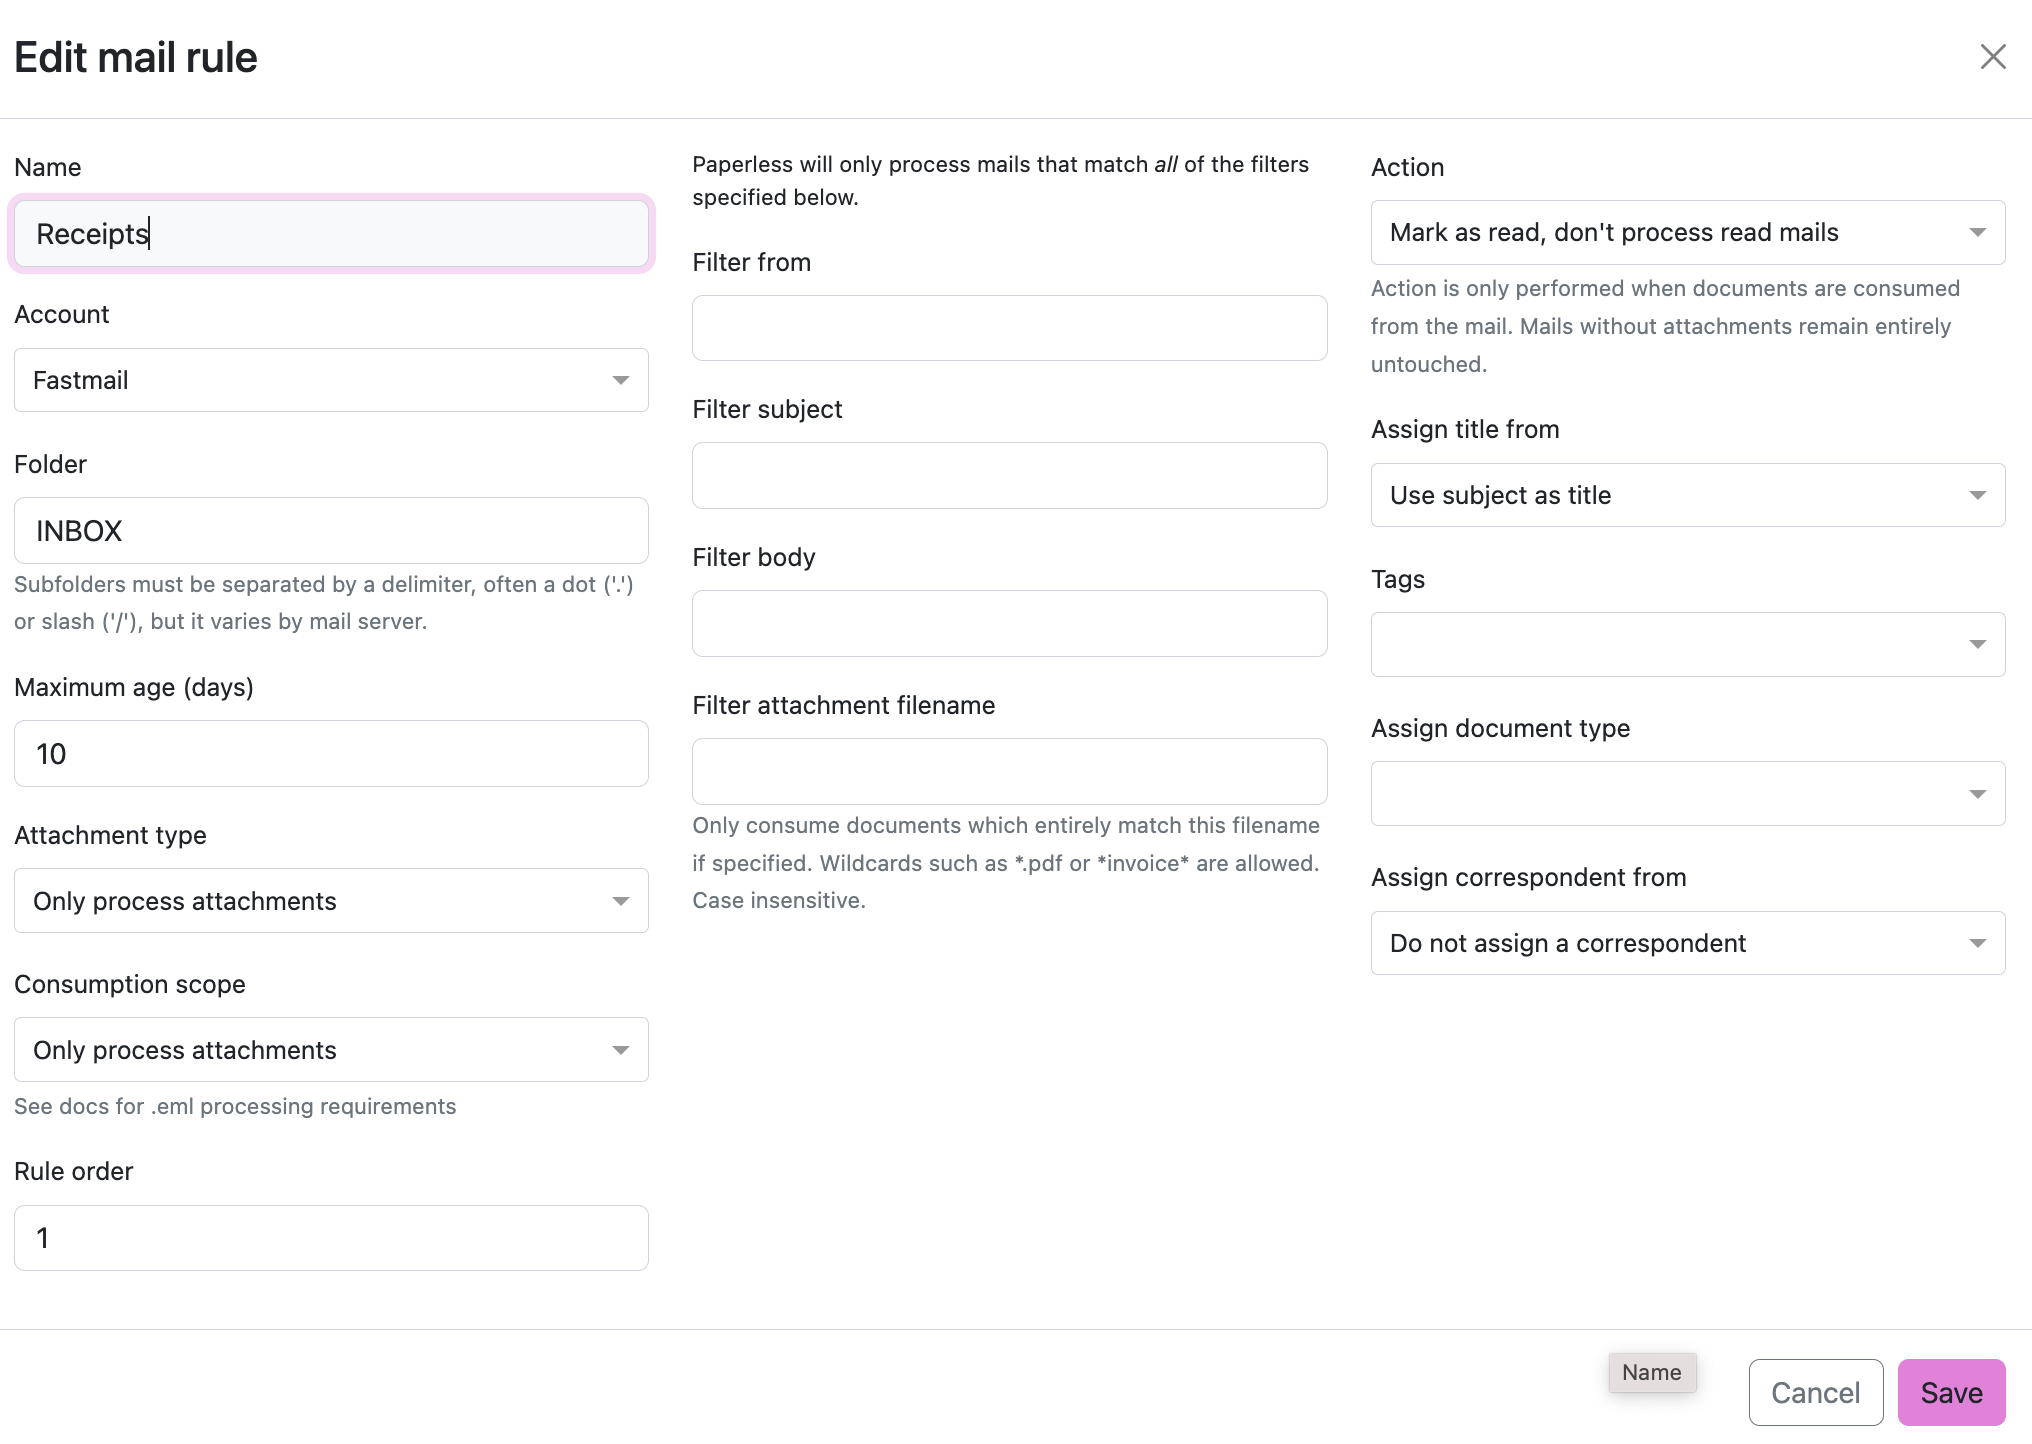
And then when you reload Paperless all documents with attachments are sent to Paperless. The title of the file is the title of the email. And thanks to inbox tags I get to categorise them as they come in!
BUTTTT..... Not all of my receipts come in nicely attached documents. Take Amazon receipts:
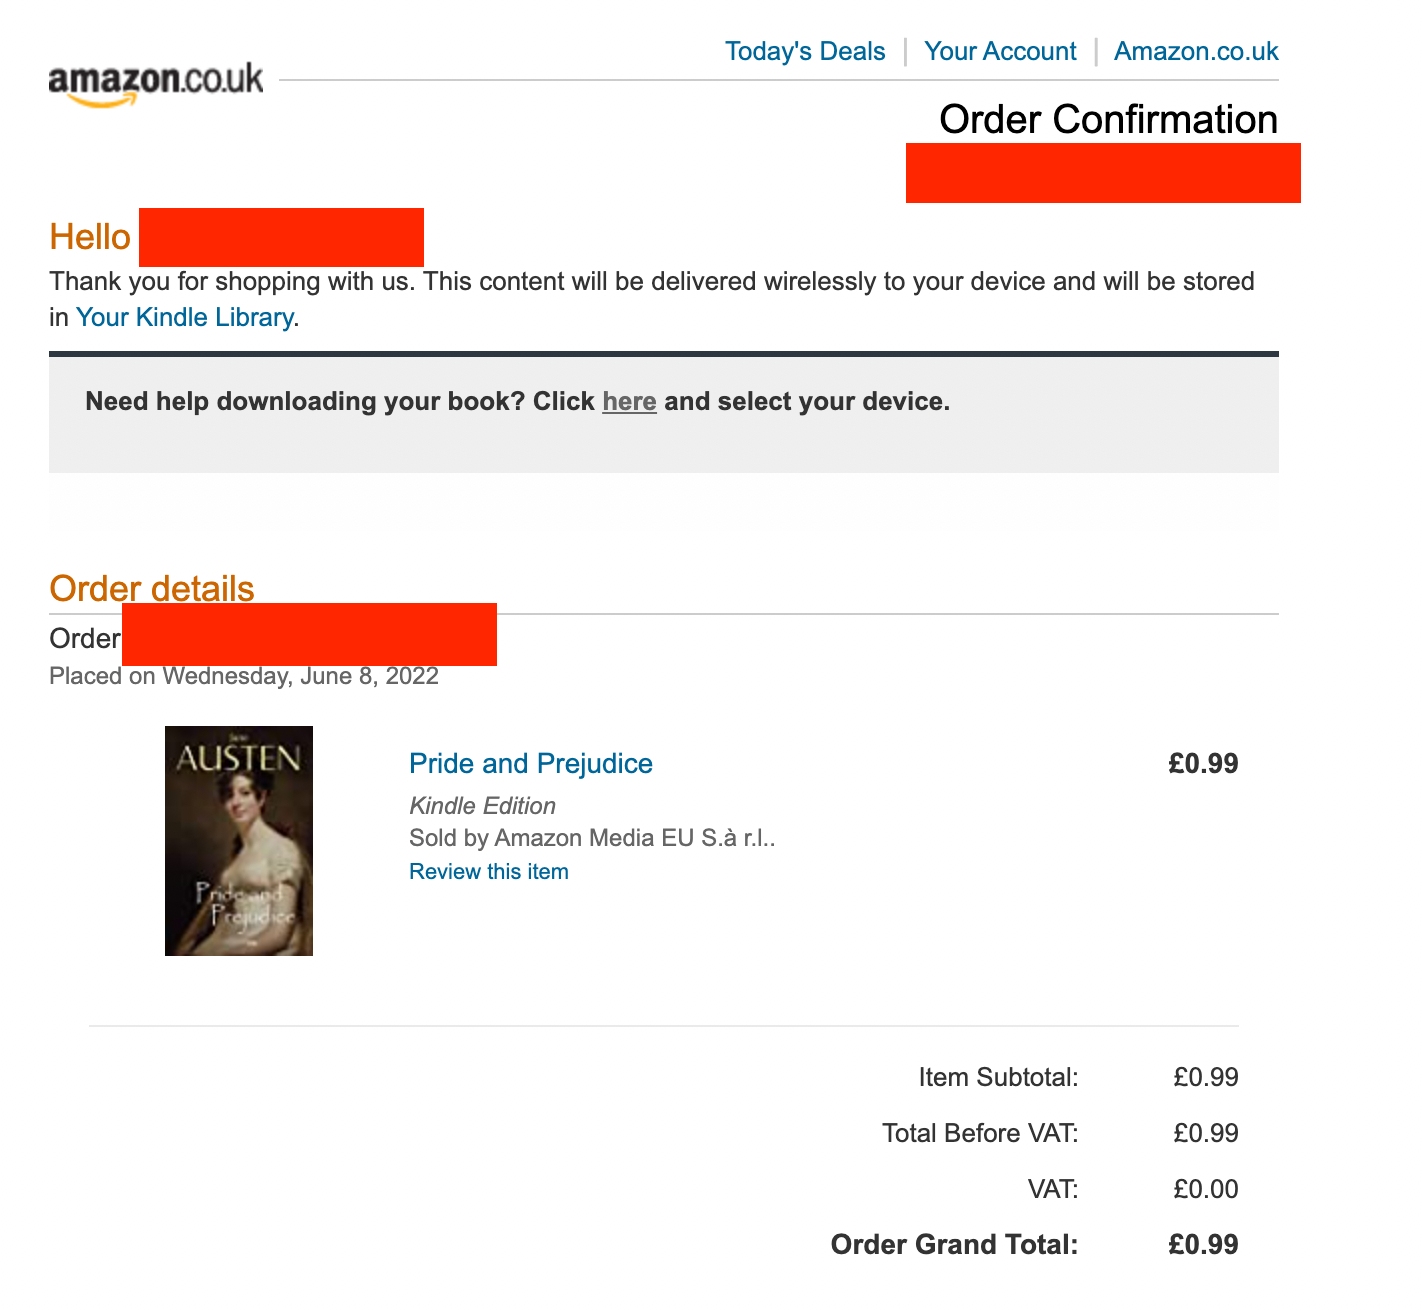
It's just plain old HTML! Ideally I'd like Paperless to...
- Match the subject line
Amazon.co.uk orderand realise it's a receipt. - Process this HTML email and import it into Paperless.
How can we do that?
Paperless-ngx supports this! We just need to add 2 new containers:
  gotenberg:
    image: docker.io/gotenberg/gotenberg:7.8
    restart: unless-stopped

    # The gotenberg chromium route is used to convert .eml files. We do not
    # want to allow external content like tracking pixels or even javascript.
    command:
      - "gotenberg"
      - "--chromium-disable-javascript=true"
      - "--chromium-allow-list=file:///tmp/.*"

  tika:
    image: ghcr.io/paperless-ngx/tika:latest
    restart: unless-stopped
Alternatively copy and paste my Docker compose at the start of the blog!
These convert our HTML emails into PDFS 🤯
This means you can upload any document and it will be in Paperless, or people can email you a Word document invoice and it'll appear in Paperless!
The way I have it set up is that I move emails I want to save to Paperless to a Paperless folder.
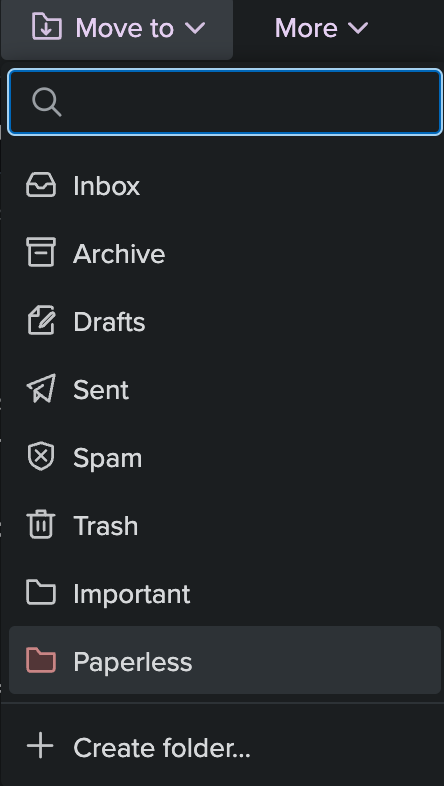
And then I created a mail rule to match all emails in the Paperless folder:
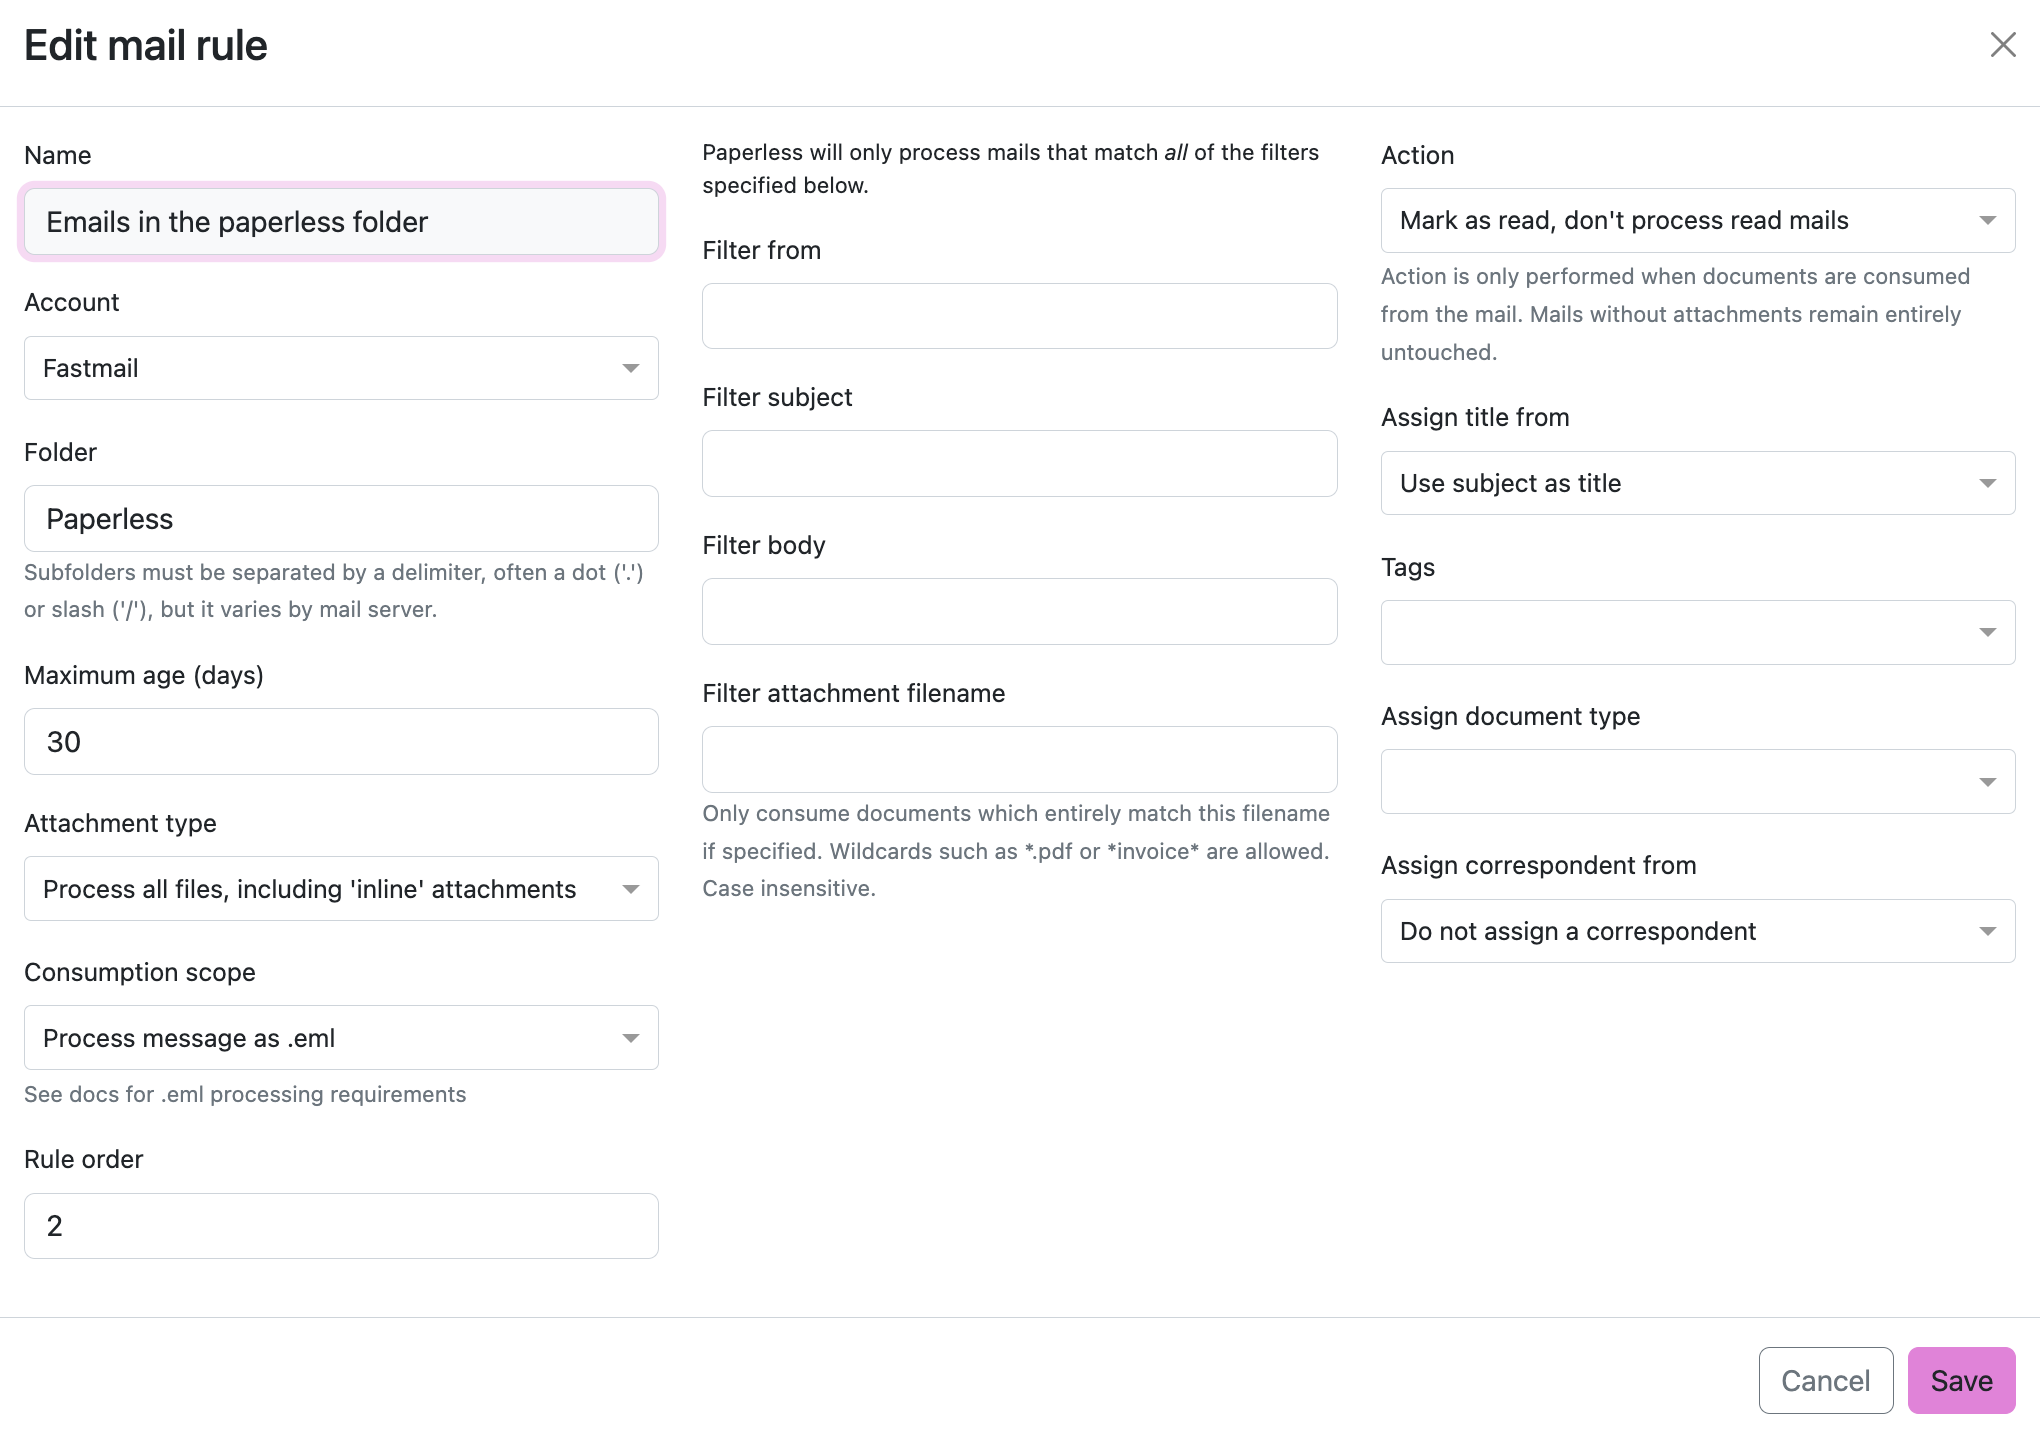
And now the emails I want to keep appear in Paperless 🥳
mail.log. You'll see the logs of Paperless trying to import your emails which can help you debug this 👻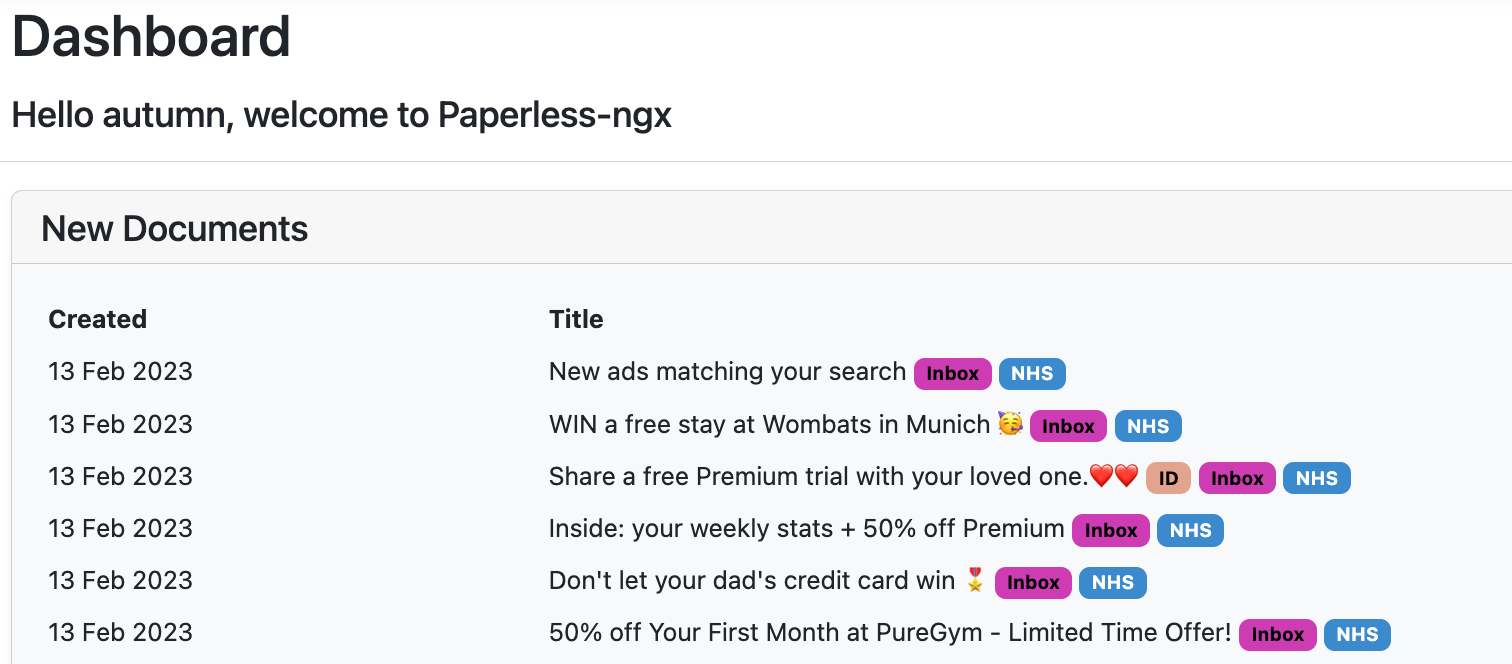
To top it off I added an email filter rule to automatically move certain emails (my Amazon receipts) into the Paperless email folder.
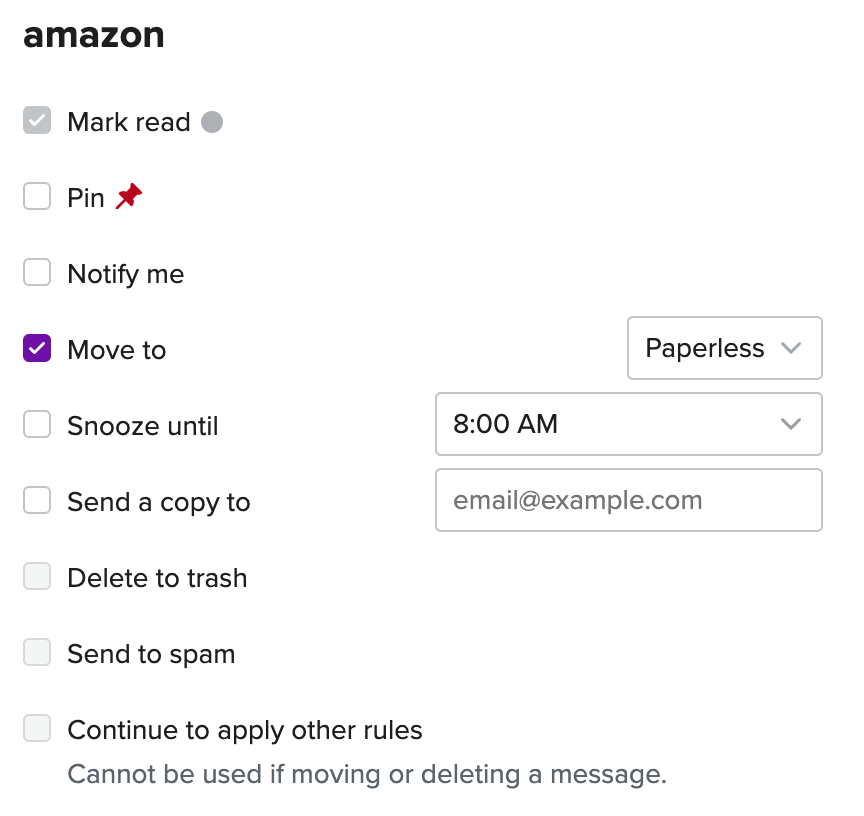
*Amazon.co.uk Order*, move it to Paperless folder.A backup for my backups
Okay a backup system to 2 places is nice, and a backup backup checker service is nice. But I need more.
What if I'm out in the Siberian wilderness with James Bond, but he won't save me until I can prove I am British™️ however at the exact same time my server is offline and accessing my R2 blob storage to get my documents is hassle.
If only I had YET ANOTHER BACKUP.
What if this backup was accessible anywhere, anytime and it had a cool search feature so I can search the OCR'd PDFs?
That's right, I'm talking about....

((it helps that I pay for Google Drive and only use ~120gb out of 2 terabytes...))
First we set up rclone with Google Drive support. It wasn't too hard. I made an oauth token for Drive and had to copy and paste some URLs to authorise it.
I told rclone it can only access files it's created too :)
We want to sync the raw PDF files (not a zip archive) so we can search over them with Google Drive.
rclone sync /mnt/ssd/paperless-ngx/media/documents/archive drive:paperless -vIn Paperless there's 2 folders for documents:
- Original - The original files unaltered
- Archive - The files converted to PDF/A and have a layer of OCR'd text.
Which means we want to sync our archive version.
Then we add it to our sync script like so...
docker exec paperless document_exporter /usr/src/paperless/export --zip
# we now have a zip folder export
# CD's into the export folder and rename the file
# this is so we can overwrite it
cd /home/autumn/paperless-ngx/export
mv *.zip paperless_export.zip
# encrypt the zip file
zip -e paperless_export_encrypted.zip paperless_export.zip -P no_password_for_you!
# rsync to external hdd
rsync -av paperless_export.zip /mnt/external_hdd/paperless
# sync to google drive
rclone sync /mnt/ssd/paperless-ngx/media/documents/archive drive:paperless -v
# sync to cloudflare r2
rclone sync paperless_export_encrypted.zip r2:paperless-backup -v
rm -rfv /home/autumn/paperless-ngx/export/*
And ta-da! We now have our documents stored in Google Drive. And better yet thanks to Paperless' file storage paths our documents are neatly formatted by year, month and day.
And to put the cherry on top 🎂 Google Drive can search our PDFs using the text layer Paperless has added with the OCR functionality 🥳
Now if I am ever in the Siberian Wilderness with James Bond and need instant access to my documents and my server is dead, so long as I have my phone or a PC I can access them 👻
🥳 Easier Consumption
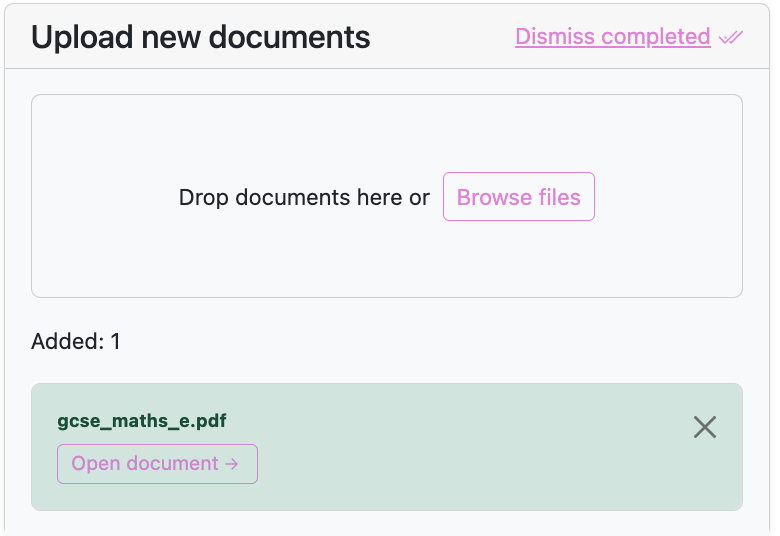
Earlier I mentioned I airdropped my files to my mac and then uploaded them into the UI.
Sometimes when I have a lot of documents to upload (or they are large in size) like:
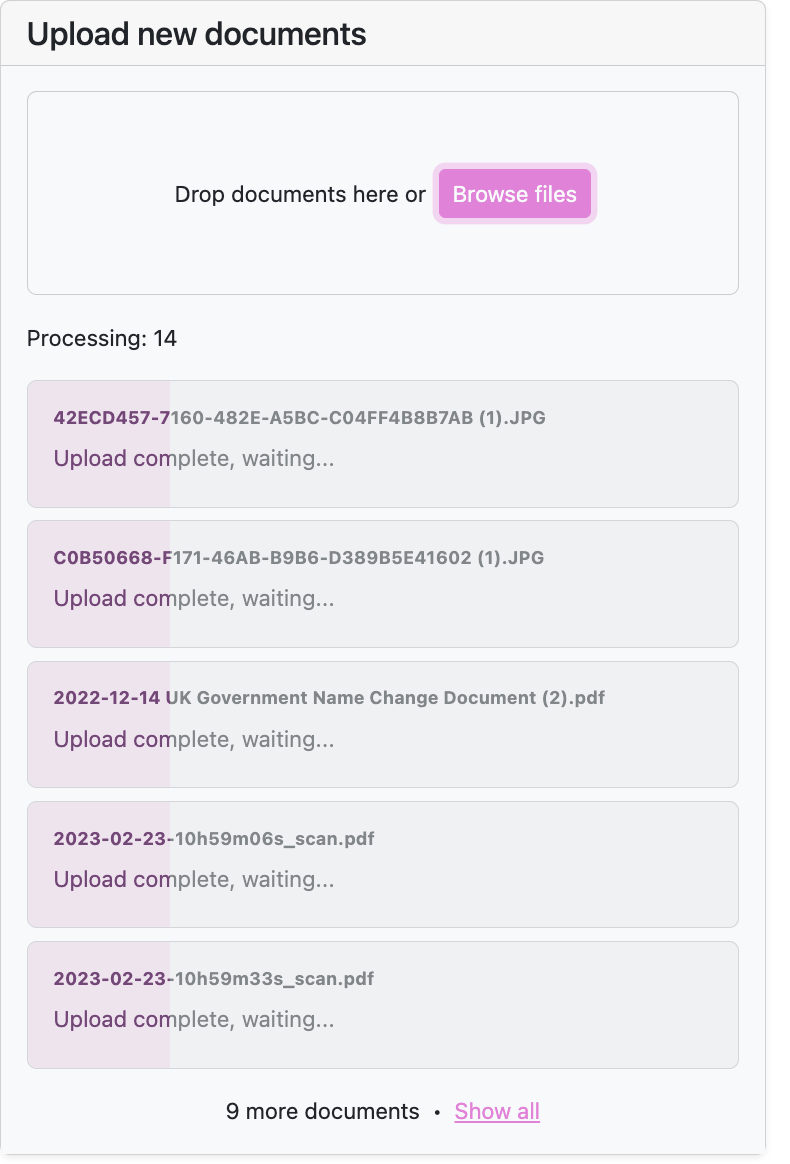
The UI will freeze up and I'll have to refresh. And when you refresh, well... The files are no longer uploading.
The consume folder will automatically retry for me until I give up, which is perfect. I tried to do this by setting up a Samba network share, but my Mac would require me to reauthenticate every so often. Same with my phone :(
Someone on Reddit mentioned using Syncthing instead:
So here's my adventure into using Syncthing!
Firstly install Syncthing with sudo apt install syncthing or however you want to do it.
Next, on the server side, Syncthing starts with 127.0.0.1:8384. I want to access the GUI from my server, so you need to edit the config file. Run syncthing to generate it, and then do a little vim ~/.config/syncthing/config.xml.
Search for the word "GUI". You'll find a bit of code like this:
    <gui enabled="true" tls="false" debugging="false">
        <address>127.0.0.1:8384</address>
        <apikey>API_KEY_HERE</apikey>
        <theme>default</theme>
    </gui>
Change the address to 0.0.0.0 like so:
<gui enabled="true" tls="false" debugging="false">
<address>0.0.0.0:8384</address>
<apikey>API_KEY_HERE</apikey>
<theme>default</theme>
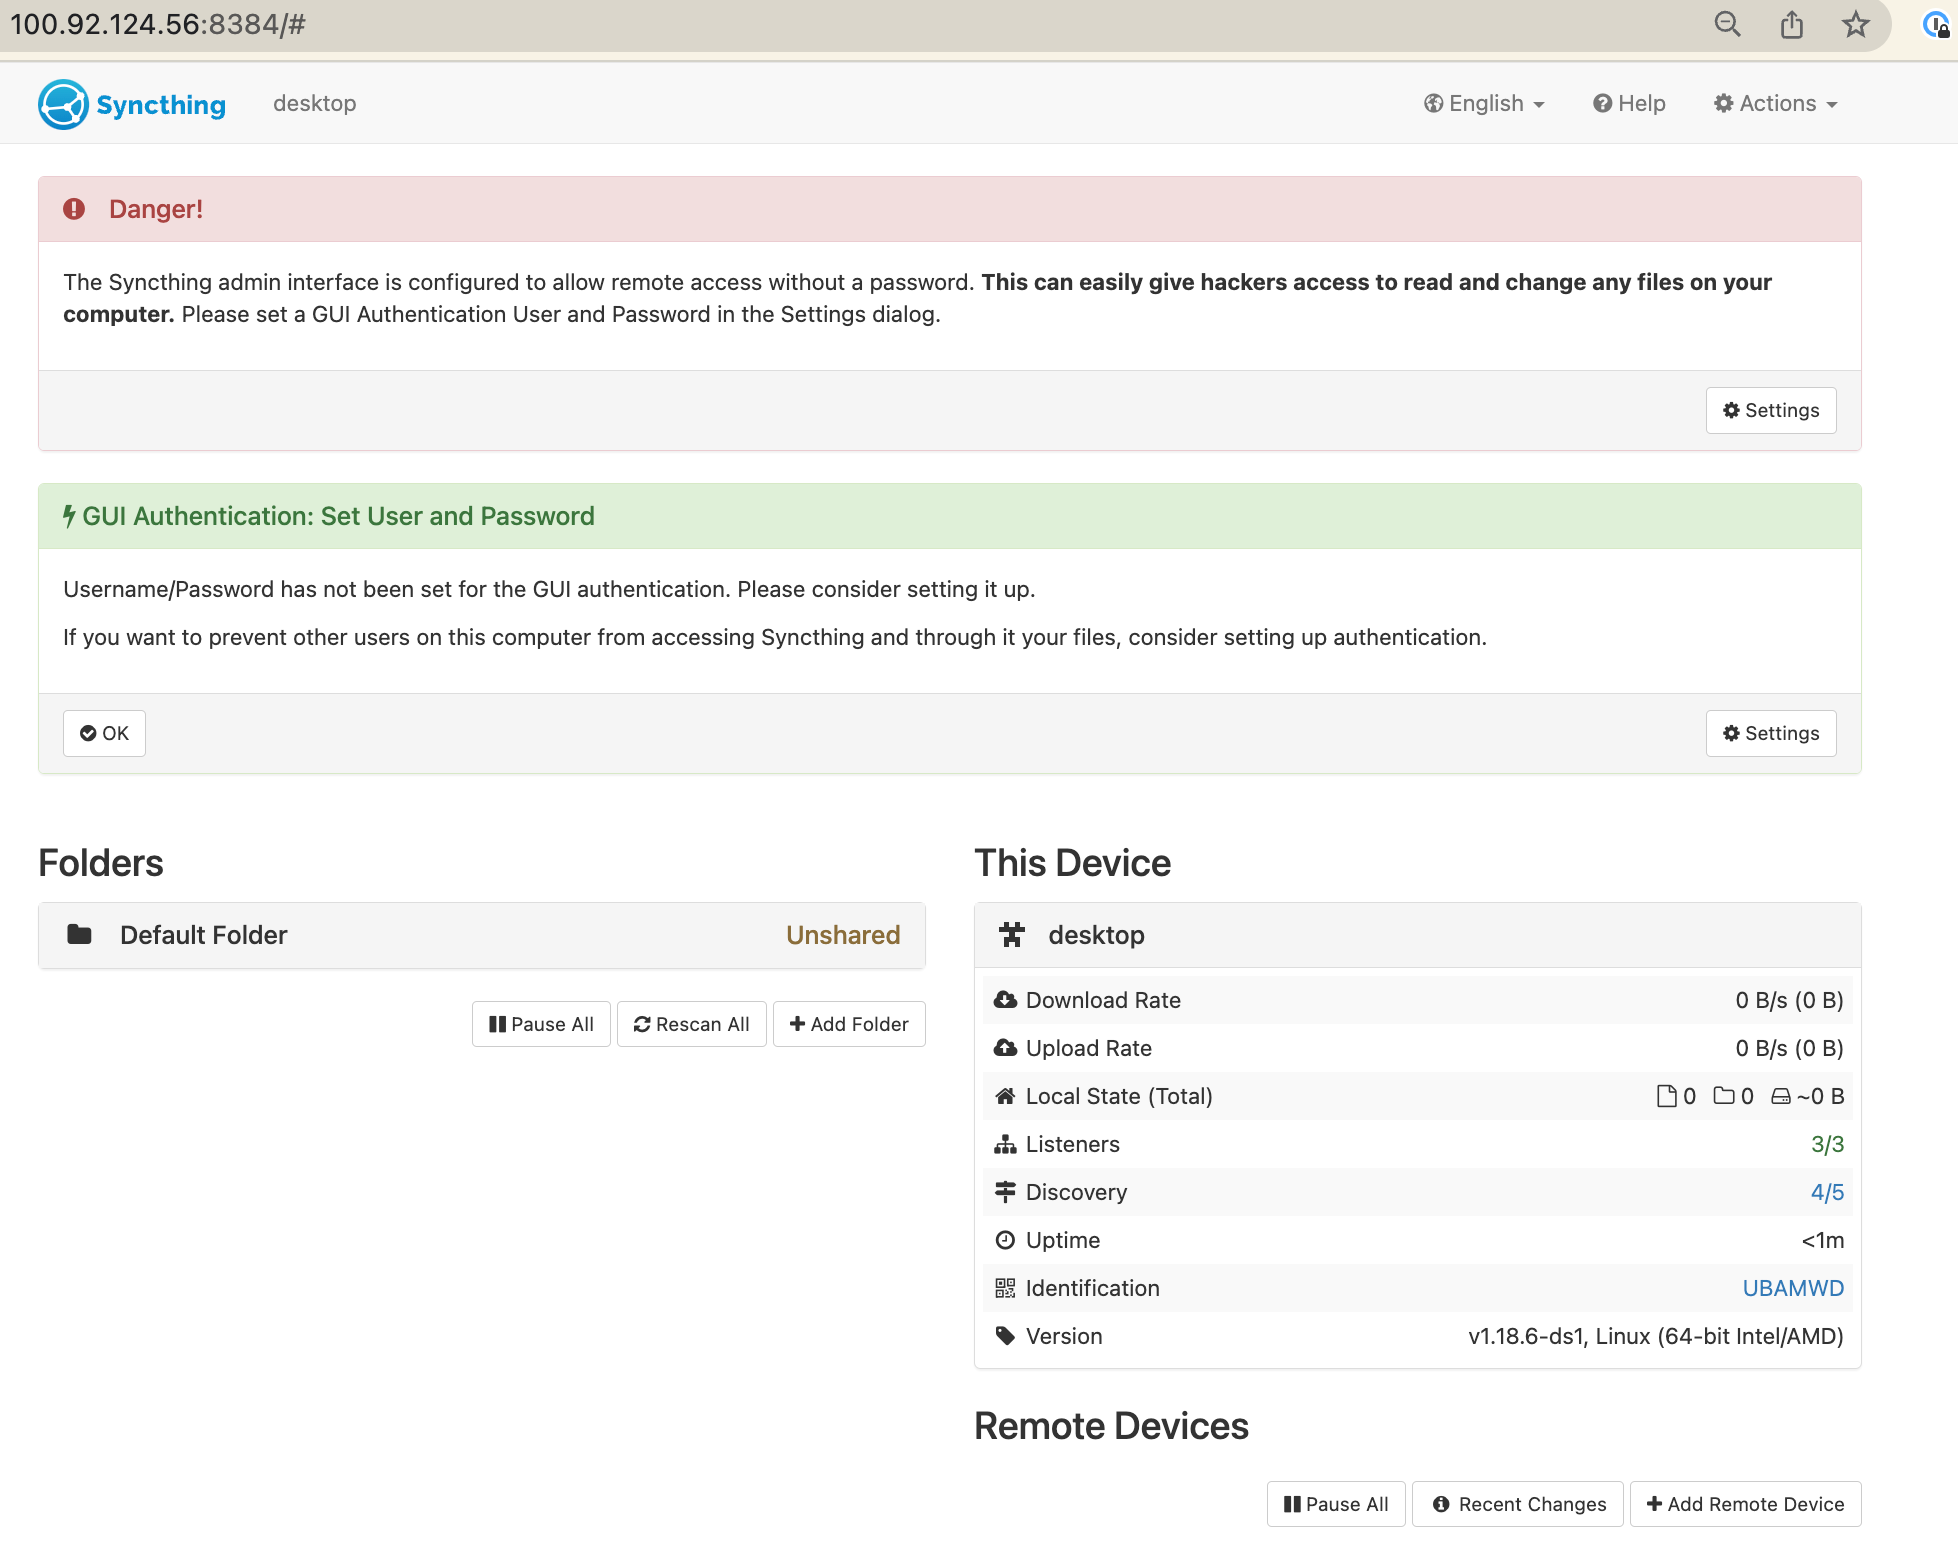
</gui>And rerun Syncthing. Now you can access it on server_ip:8384!
192.168.0.1 or a VPN internal IP or you can set up a username / password.Syncthing will not run in the background unless you tell it to. Let's make a quick service sudo vim /etc/systemd/system/syncthing_runner.service and then:
[Unit]
Description=Runs Syncthing
After=network.target
StartLimitIntervalSec=0
[Service]
Type=simple
Restart=on-failure
RestartSec=1
User=autumn
ExecStart=/usr/bin/env syncthing

[Install]
WantedBy=multi-user.target
And then a quick systemctl start syncthing_runner.service && systemctl enable syncthing_runner.service
Tada! Syncthing runs now.
Now we want to run this in the backgroud on our local machine. For macs do a quick brew install syncthing and then brew tap homebrew/services (this installs a background runner for homebrew) and then brew services start syncthing. Now on your device go to http://127.0.0.1:8384/.
Adding your devices
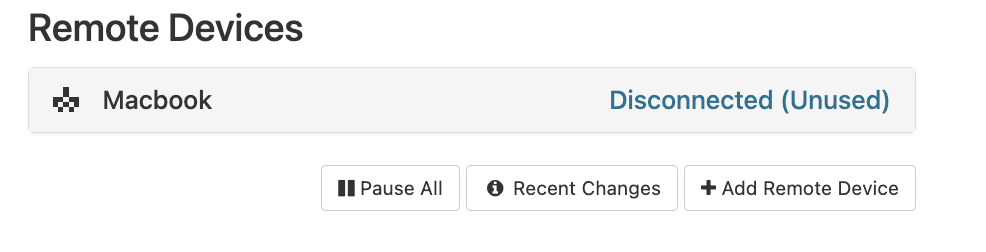
On your server click "add remote device".

It'll tell you to follow some instructions, copy and paste the ID for your local machine and you'll have added your first device!
Adding the consume folder
Grab your consume folder's directory from the Docker compose file, and add a new folder to Syncthing.
Make sure you share it with your device!

Go back to your local device and Syncthing will now tell you about a new folder.
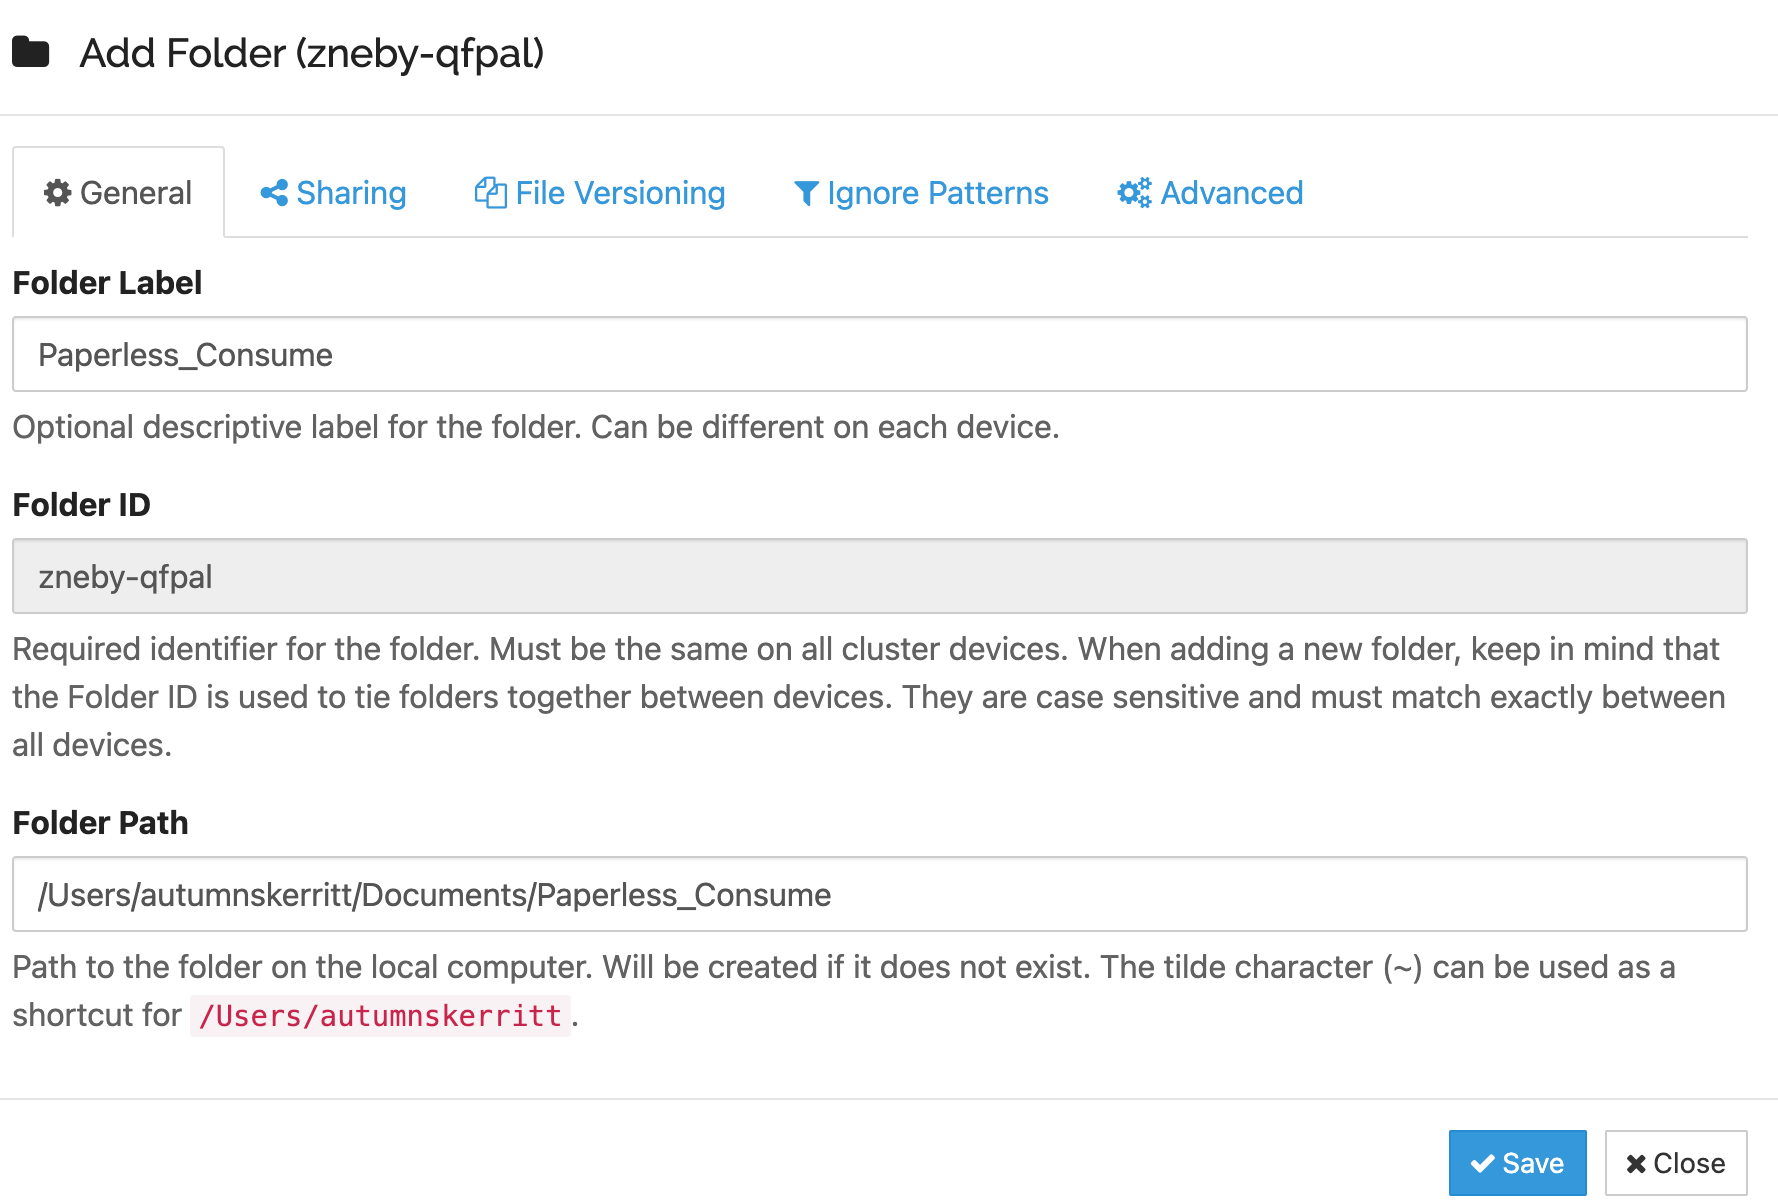
Accecpt the folder (make sure the path is where you want it to be). Now you have a local folder synced with the consume folder on your server which Paperless will use.
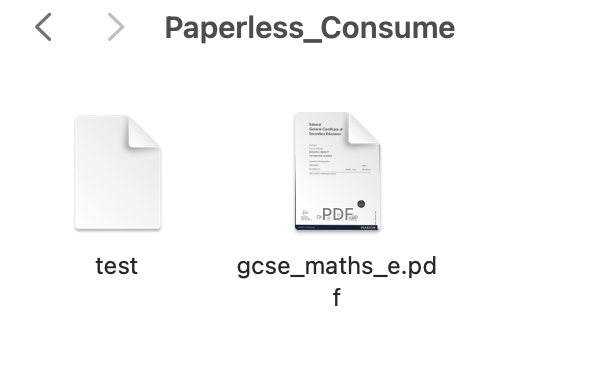
And a couple of minutes later this happens...
Now to upload documents my flow looks like:
- Scan documents
- Send them to my mac
- Drag & drop into my consume folder on my laptop.
🔜 soon I will find a scanner which can automatically add things to the folder and my life will be complete 🙇🏼♀️ I heard the Brother ADS-1700W Scanner is good.
I even managed to sync my Paperless archive with my local devices so I can access documents on the go if needed :)
Shredding
I recently brought a nice shredder from Fellows:
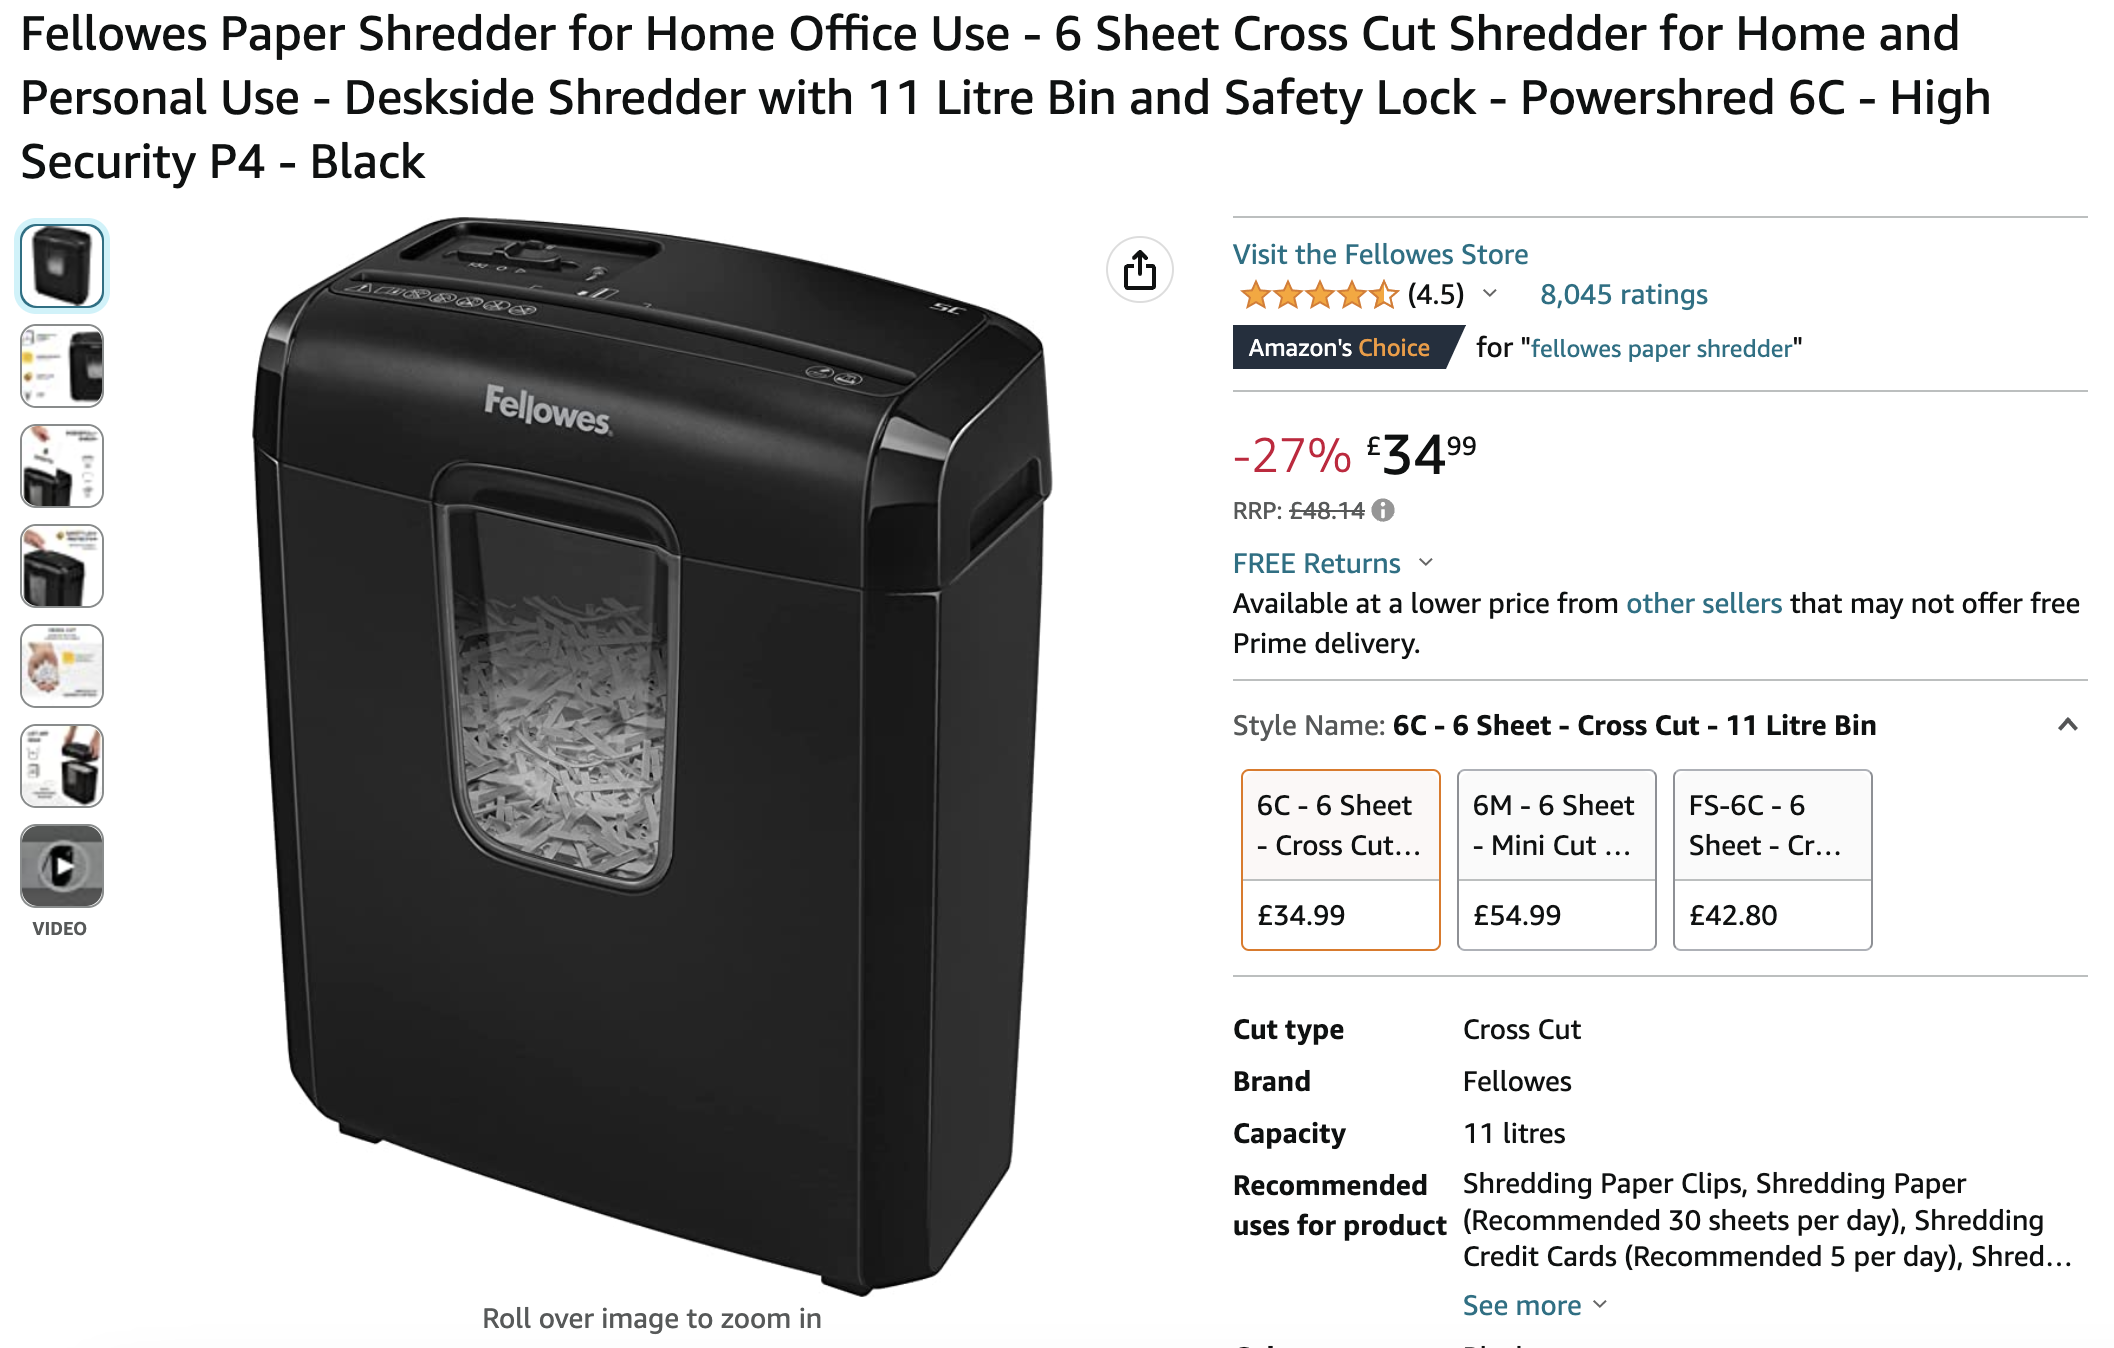
It works quite well, the bin is very useful, it hasn't clogged so far and it's managed to shred card.
Previously I was using a £5 Lidl shredder which jammed all the time, did not have a bin and could barely process 1 page at a time. This can handle around 6!
What's next?
Like any great programmer I have implemented an MVP and added a bunch of features to the backlog. Up next on my list is...
Safely storing documents
Right now my precious physical documents are stored in a cardboard box next to my Zippo lighter fluid.
It's probably a good idea to buy a safe, I am thinking about this A4 safe.A real scanner
Earlier I mentioned using my phone to scan things, it'd be way nicer if I had a real printer / scanner combination. Brother is meant to be nice and without the bad IoT parts.
Wallace and Gromit Style Scanning
Ok hear me out.
If you're a venture capitalist reading this and looking to fund me, here's how I'll make profit from this revoluntry idea:
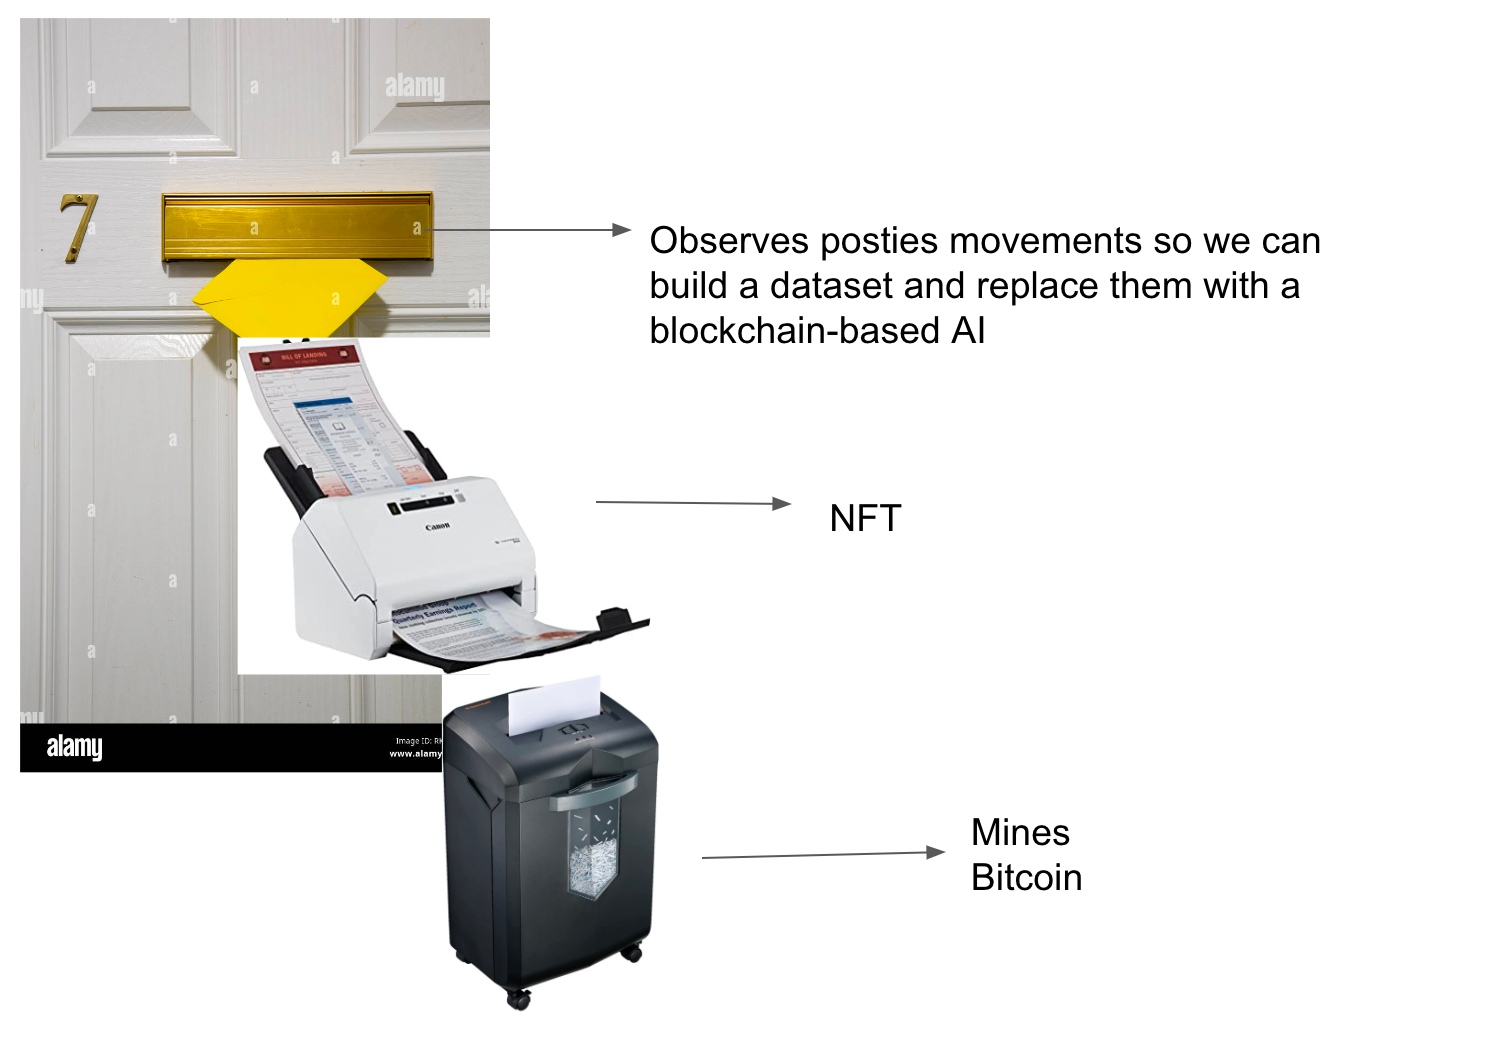
If you have printer / scanner recommendations please email me autumn@skerritt.blog or tweet me https://twitter.com/bee_sec_san !