Packaging Your Rust Code


I recently went through the trouble of distributing a Rust package. I wished that there was a simple guide on distributing one package to many platforms, so I wrote this guide.
Follow me as we publish my package, RustScan, to multiple distributions.
Semantic Versioning
Semantic Versioning is a system defining how to write version numbers. The 3 numbers are:
Major.Minor.Bugs
If you have fixed some bugs, increment the bugs counter.
If you have added a minor feature, increment the minor counter.
If you have done something major, increment the major counter.
We can signify whether a release is still being rested or not by adding “rc” (release candidate) to the end of the version. “5.0.0rc1” signifies “release candidate 1” which means this is the first public testing release of version 5.0.0.
Cargo
Cargo is a package registry system for Rust. Imagine it as PyPi (Pip for Python) or NPM (for JavaScript).
As a rustacean, you may have heard of this – and even used it to download packages yourself. So let’s skip right to the good part.
Before publishing to Cargo, we need to make sure our cargo.toml file has the required information.
There are 3 things we need:
- Name
The name of our project.
- Description
Describe what the project does.
- License
What license do you use? Specifically, we need to use a license identification code. View the Linux Foundation’s SPDX website for all the license identification codes.
However, you will probably want more than these for your package. Some good ones are:
- Readme
The location of your README file, which is used to fill out the README on the Cargo website.
- Keywords
These are tags for your project. When a user searches a keyword such as “sewing”, and your project has that keyword, your project will come up in the search results.
This is RustScan’sCargo.toml:
[package]
name = "rustscan"
version = "1.0.1"
authors = ["Autumn <my_email@skerritt.blog>"]
edition = "2018"
description = "Faster Nmap Scanning with Rust"
homepage = "https://github.com/bee-san/rustscan"
repository = "https://github.com/bee-san/rustscan"
license = "MIT"
keywords = ["port", "scanning", "nmap"]
categories = ["command-line-utilities"]
readme="README.md"
For more information on the manifest file, look here:

Now we’re ready to publish! Go to the Crates.io website and register an account. Then, go into the settings and create a new API key.

Now in a terminal, execute cargo login <API_KEY>. You’re now logged into Crates.io and can publish!
Build your Rust package using the release profile, which optimises it at the highest level Rust can provide:
cargo build --release
And then publish it.
cargo publish
Ta-da! Your package is now available on the Crates.io website, and can be installed with cargo <your_package_name>.
Windows (or any platform with binaries)
You can use Cargo Dist for this:
 axodotdev
You can generate the CI using:
cargo dist init --ci=githubThis creates a bunch of files (see pull request below)
bee-san
It works, and it makes binaries for all of the major operating systems.
If you don't care about them so much and just want to hand out binaries, you can stop reading here.
Homebrew
Homebrew is a package manager used by Mac OS users but can is also used on Linux.
Unfortunately, I found the documentation to be lacklustre in explaining how to get a package into Homebrew.
Let’s assume we are using GitHub to store our code.
Homebrew expects an TAR archive. To get this, we create a new release on GitHub.
On the GitHub repo’s homepage, click “Releases” on the right-hand side menu.
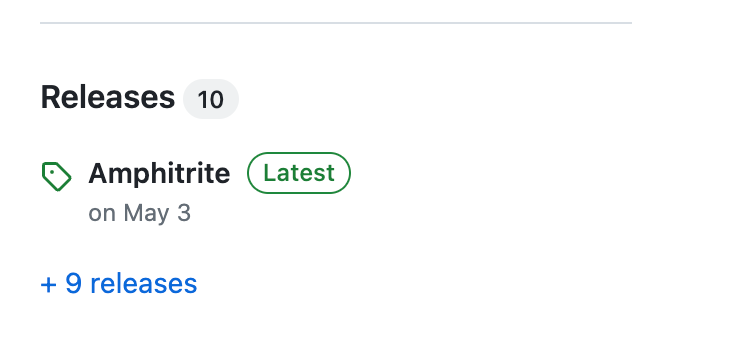
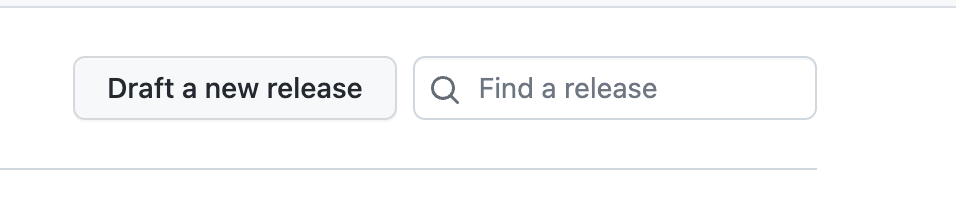
You should be taken to this page. Click “Draft a new release”.
Now create a new release.
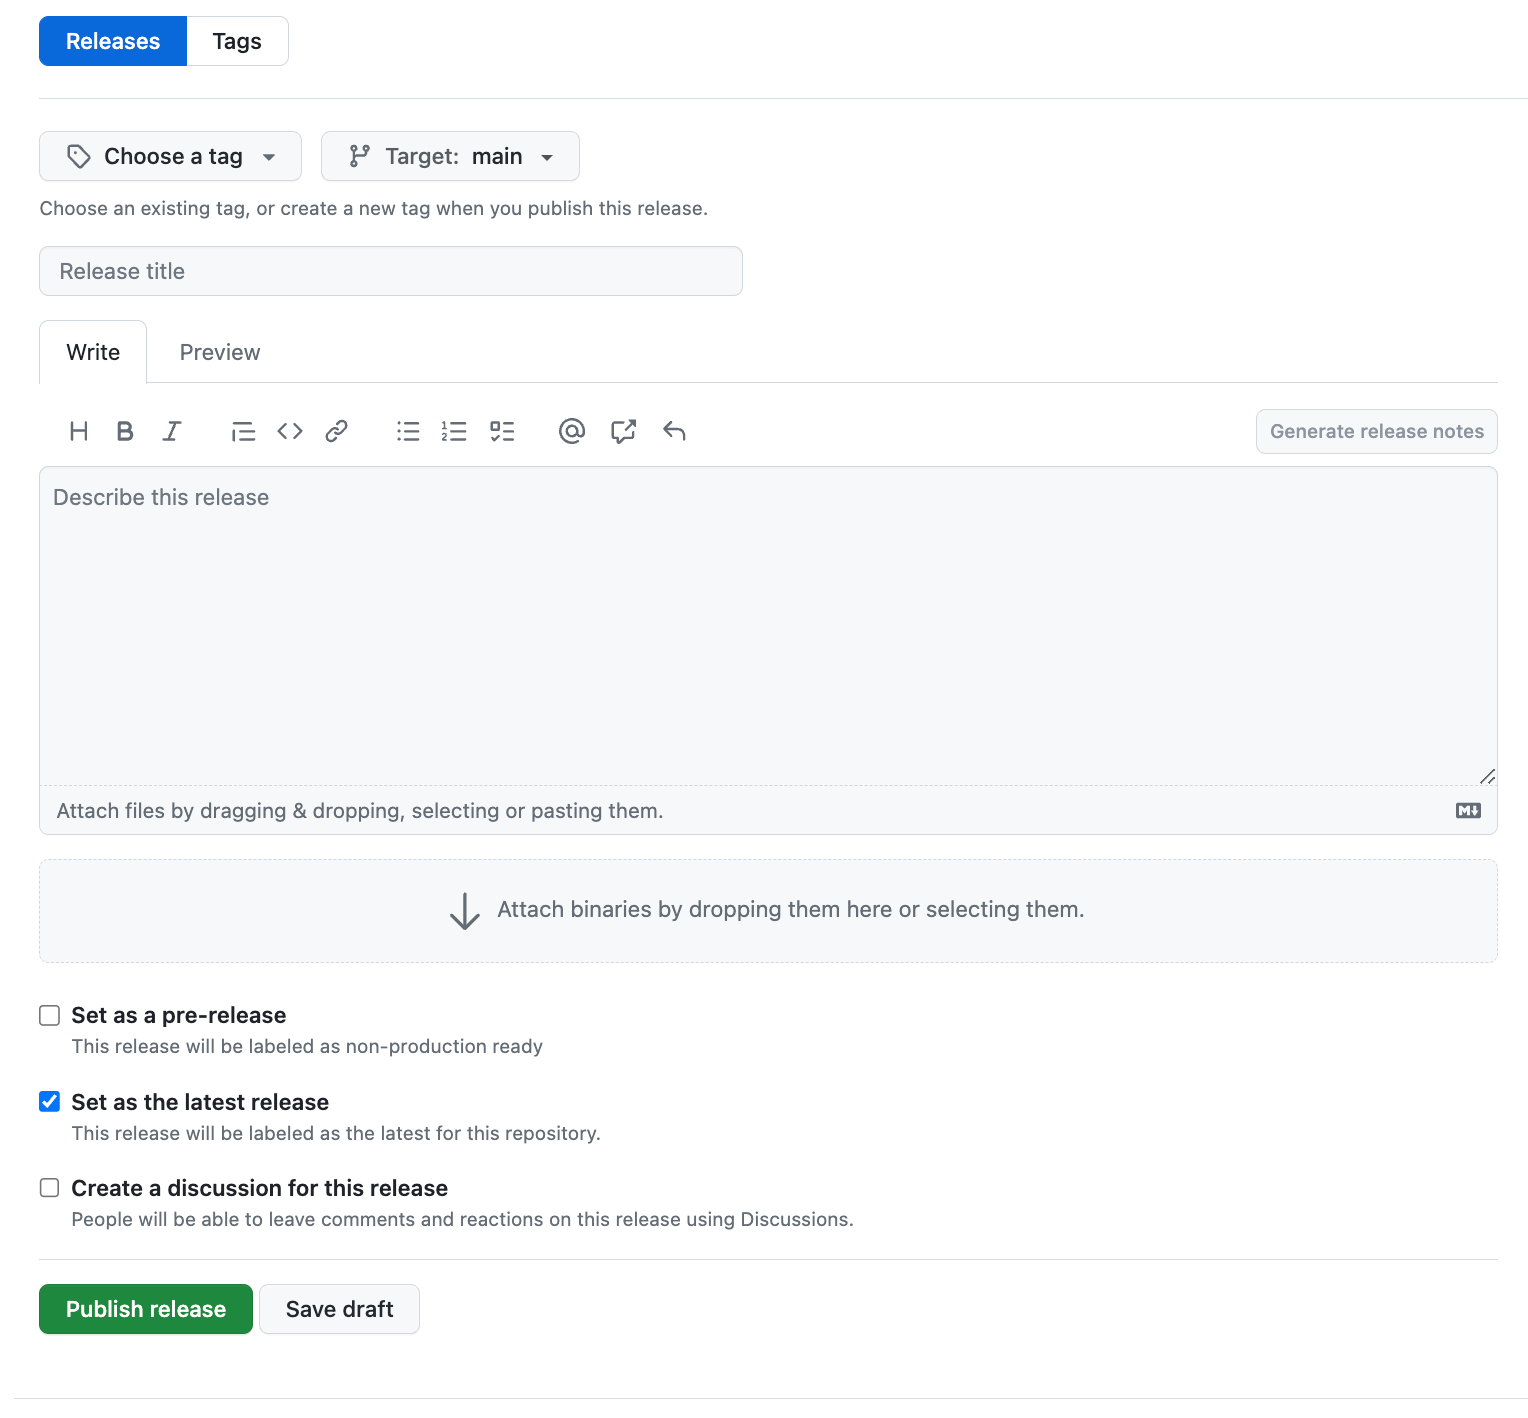
Use semantic versioning to create the Tag Version. Create a new release title, and describe the release.
A good format for release descriptions is:
# Features

# Maintenance

# Bugs
Similar to the semantic versioning rules. I normally pull these from pull requests, or write them down as I merge commits.
Once we’ve entered some information, click Publish release. We now have a published release of our app!
Our code is now in .tar.gz format if we look on the releases page again. GitHub does it for us!
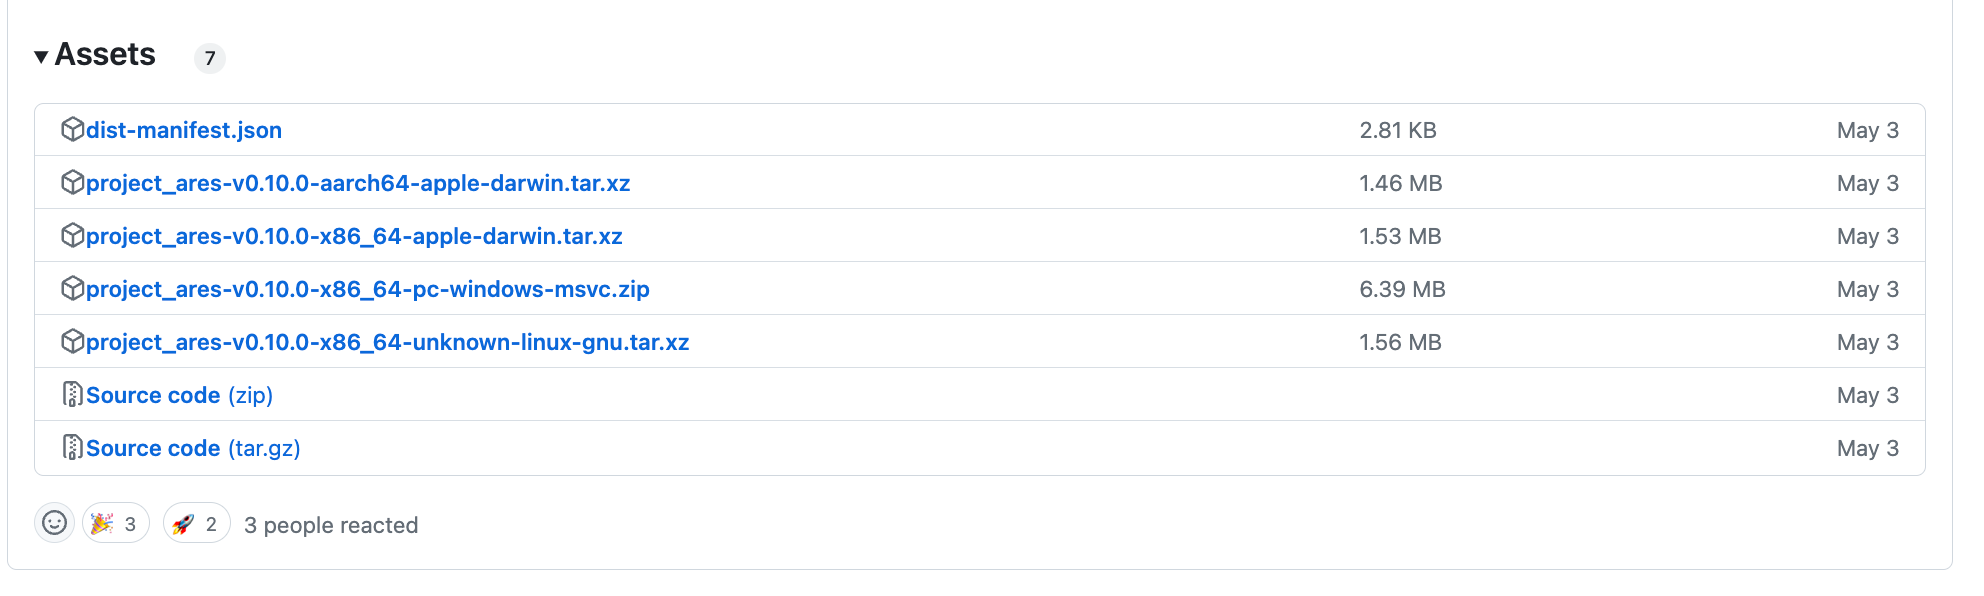
Right click Source code (tar.gz) and click on “get link”. Now we have the link to our tar.gz folder.
Go into a terminal, and type:
wget <link>
where <link> is replaced by the link you just copied.
We need the SHA256 Hash of the archive, so let’s calculate it:
shasum -a 256 rustscan.tar.gz
Where rustscan.tar.gz is the file you just downloaded with wget.
The GitHub Repository
Homebrew requires a separate GitHub repository for your project. Or you can change the name of your current repository.
Homebrew calls these taps. Taps are third-party GitHub repositories with specific names and configuration files.
Go to GitHub and create a new repository. Naming it:
homebrew-<project>
Where is the name of your project? Note it must start with the name “homebrew-".
In my case, it is:
homebrew-rustscan
Now clone your new repo onto your machine:
git clone homebrew-<project>
Creating the formula
Homebrew requires a file called a formula. This is a Ruby file that details your project along with how to install the binary. You do not need to know Ruby to create this.
cd into our newly cloned repo, and create the following file structure:
- Formula/
    - <project>.rb
In my case:
- Formula/
    - rustscan.rb
Capitalise the folder name if it is not already.
Now copy and paste the following file into your rustscan.rb (or whatever your project is called).
# Documentation: https://docs.brew.sh/Formula-Cookbook
#                https://rubydoc.brew.sh/Formula
# PLEASE REMOVE ALL GENERATED COMMENTS BEFORE SUBMITTING YOUR PULL REQUEST!
class Rustscan < Formula
  desc "Faster Nmap Scanning with Rust"
  homepage "https://github.com/bee-san/rustscan"
  url "https://github.com/RustScan/RustScan/archive/1.3.tar.gz"
  sha256 "3bbaf188fa4014a57596c4d4f928b75bdf42c058220424ae46b94f3a36b61f81"
  version "1.3.0"
  depends_on "rust" => :build

  def install
    system "cargo", "build", "--release", "--bin", "rustscan"
    bin.install "target/release/rustscan"
  end
end
Change the class name to match the name of your program:
class Rustscan < Formula
Then add a short description and link the homepage (in my case, the GitHub repo).
  desc "Faster Nmap Scanning with Rust"
  homepage "https://github.com/bee-san/rustscan"
Now we need to fill out the download link and the SHA-256.
  url "https://github.com/RustScan/RustScan/archive/1.3.tar.gz"
  sha256 "3bbaf188fa4014a57596c4d4f928b75bdf42c058220424ae46b94f3a36b61f81"
Remember earlier when I told you to write down the link & the shasum? This is exactly where you’d place them!
Now insert your version number, the same one for the whole release:
version "1.3.0"
Our program relies on Rust to build the binary, we note this down here:
depends_on "rust" => :build
The next step is to detail how to build the binary and install our program. We tell Homebrew to build the binary using cargo build, and then to install it with bin.install.
  def install
    system "cargo", "build", "--release", "--bin", "rustscan"
    bin.install "target/release/rustscan"
  end
And just like that, we’ve made the formula file.
Upload this to your homebrew-<project> repository like so:
git add .
git commit -m 'First release'
git push
Installing the Package
Let’s install the package to double check everything went well.
brew tap bee-san/rustscan
brew install rustscan
Where bee-san/rustscan is your GitHub username combined with the project’s name.
My username is bee-san, and the project is called rustscan.
I created a one-command install for my users. which is just the 2 commands combined. You may find this helpful.
brew tap bee-san/rustscan && brew install rustscan
Debian
The easiest way to create Debian binaries is to use the crate cargo-deb. Cargo-deb is installed
cargo install cargo-deb
Once it is installed, run the command:
cargo-deb
And we now have a .deb file for our project on our system architecture.
But what if we wanted to package for other architectures?
Luckily I’ve created a (albeit badly made) Docker script to package for other architectures.
The script packages the project for:
- Amd64
- Arm64
- i386
It requires some editing (as it was made for RustScan), but once done it will automatically package your script for you.
Create a separate folder in your main project’s repo, such as rustscan-debbuilder.
Then place these 3 files in there:
entrypoint.sh
#!/bin/bash

cd /RustScan
git pull --force

#amd64
cargo deb

#arm64
rustup target add arm-unknown-linux-gnueabihf
cargo deb --target=arm-unknown-linux-gnueabihf

#i386
rustup target add i686-unknown-linux-gnu
cargo deb --target=i686-unknown-linux-gnu

find target/ -name \*.deb -exec cp {} /debs \;
Change cd /RustScan to your project name.
run.sh
#!/bin/bash
docker build -t rustscan-builder . || exit

# This creates a volume which binds your currentdirectory/debs to
# the location where the deb files get spat out in the container.
# You don't need to worry about it. Just chmod +x run.sh && ./run.sh and
# you'll get yer .deb file in a few minutes. It runs faster after you've used it the first time.
docker run -v "$(pwd)/debs:/debs" rustscan-builder
Dockerfile
FROM rust:latest

RUN git clone https://github.com/bee-san/RustScan
WORKDIR "/RustScan"
RUN git pull --force
RUN cargo install cargo-deb

RUN apt update -y && apt upgrade -y
RUN apt install libc6-dev-i386 -y
RUN git clone --depth=1 https://github.com/raspberrypi/tools /raspberrypi-tools
ENV PATH=/raspberrypi-tools/arm-bcm2708/gcc-linaro-arm-linux-gnueabihf-raspbian-x64/bin/:$PATH
ENV CARGO_TARGET_ARM_UNKNOWN_LINUX_GNUEABIHF_LINKER=arm-linux-gnueabihf-gcc
RUN mkdir /root/.cargo
RUN echo "[target.arm-unknown-linux-gnueabihf]" >> /root/.cargo/config
RUN echo "strip = { path = \"arm-linux-gnueabihf-strip\" }" >> /root/.cargo/config
RUN echo "objcopy = { path = \"arm-linux-gnueabihf-objcopy\" }" >> /root/.cargo/config

COPY ./entrypoint.sh /entrypoint.sh
RUN chmod +x /entrypoint.sh
ENTRYPOINT ["/entrypoint.sh"]
Change RUN git clone [https://github.com/bee-sa/RustScan](https://github.com/bee-san/RustScan) to the git repository link of your choice.
Change WORKDIR "/RustScan to your project’s name.
The directory should look like:
- rustscan-debbuilder /
    Dockerfile
    run.sh
    entrypoint.sh
Now to run this builder:
cd rustscan-debbuilder
chmod +x run.sh
./run.sh
And it will build 3 Debian binaries for you.
Installation of .deb files
To install .deb files, you can run dpkg -i on the file, or you can double-click the file (on some systems).
Arch
The easiest way to distribute for AUR is to use the Cargo package cargo-aur.
The PKGBUILD file is similar to cargo.toml, or our Homebrew file.
Let’s open up the file and edit some fields (if we want to).
# Maintainer: Bee <bee@fake.com>
pkgname=rustscan
pkgver=1.4.1
pkgrel=1
pkgdesc="Faster Nmap Scanning with Rust"
url="https://github.com/bee-san/rustscan"
license=("MIT")
arch=("x86_64")
provides=("rustscan")
options=("strip")
source=("https://github.com/bee-san/rustscan/releases/download/v$pkgver/rustscan-$pkgver-x86_64.tar.gz")
sha256sums=("7bed834f5df925b720316341150df74ac2533cc968de54bb1164c95ea9b65db8")

package() {
    install -Dm755 rustscan -t "$pkgdir/usr/bin/"
}
The pkgname is the name of the package. Please see the Arch wiki for guidance on naming conventions.
pkgver is the semantic version of our package. This is automatically taken from cargo.toml.
pkgrel means “this package has updated”. Nothing more to it, but the Arch Wiki explains this concept in more detail.
pkgdesc is the description of our package.
arch is the architecture our package will compile on.
provides is an array of packages that the software provides the features are. Packages providing the same item can be installed side-by-side unless one of them has a conflicts array.
options per the Arch Wiki:
This array allows overriding some of the default behavior of makepkg, defined in/etc/makepkg.conf. To set an option, include the name in the array. To disable an option, place an!before it.
Personally, I don’t know why this is needed. But it’s an automated generation, so we can’t complain too much.
source is the location of the release on GitHub, and sha256sums are the checksums of the package.
Finally, package() shows Arch how to install our package.
Uploading this package to the AUR
cargo aurbuilt a tarball.tarfile. Create a newrelease on GitHub and attach the.tar` file that was just created.- Create an account on the AUR https://aur.archlinux.org/
- Upload your SSH public key to your account.
Check for SSH keys with:
ls -al ~/.ssh
And you’re likely looking for a file like *id_rsa.pub. *
If this doesn’t exist, generate a new SSH key with:
$ ssh-keygen -t rsa -b 4096 -C "your_email@example.com"
And follow the on-screen prompts. Or follow this guide if you are still confused.
Next, go to your account page on the AUR and upload your public SSH key.
- In a new directory, git clone your repo on the AUR.
This is kind of confusing. But say the package name is rustscan (confirm there is no other package on the AUR using your projects name by searching here).
git clone ssh://aur@aur.archlinux.org/rustscan.git
I normally clone this in a folder format like:
- rustscan /
    - rustscan / # the rust package
    - rustscan / # the package we have git cloned
    - homebrew-rustscan /
Make sure to change the name of the package rustscan to the name you want.
- Copy the PKGBUILD you built in stage 1 into the new Git repo.
- Run
makepkg --printsrcinfo > .SRCINFOin the repo.
Your directory should now look like:
- rustscan /
- rustscan / # the rust package
- rustscan / # the package we have git cloned
- PKGBUILD
- .SRCINFO
- homebrew-rustscan /
Now push these:
git add . git commit -m ‘initial release’ git push
And Ta-Da! We now have an Arch Linux AUR package!
Eventually, you may want to clean up the default Rust AUR package for whatever reason. This is the one RustScan uses. Feel free to copy & change it however you wish:
# Maintainer: Hao Last_name_emited_for_privacy <email_emited_for_privacy>

pkgname=rustscan
_pkgname=RustScan
pkgver=1.6.0
pkgrel=1
pkgdesc="Faster Nmap Scanning with Rust"
arch=("x86_64" "i686")
url="https://github.com/rustscan/RustScan"
license=("GPL3")
provides=('rustscan')
conflicts=('rustscan')
depends=("nmap")
makedepends=("cargo")
source=("${pkgname}-${pkgver}.tar.gz::${url}/archive/${pkgver}.tar.gz")
sha256sums=('a4ebe4b8eda88dd10d52d961578c95b5427cc34b3bf41e5df729a37122c68965')

build() {
  cd ${_pkgname}-${pkgver}
  cargo build --release --locked --all-features --target-dir=target
}

package() {
  cd ${_pkgname}-${pkgver}
  install -Dm755 target/release/${pkgname} ${pkgdir}/usr/bin/${pkgname}
}
Note: someone else made this for RustScan.